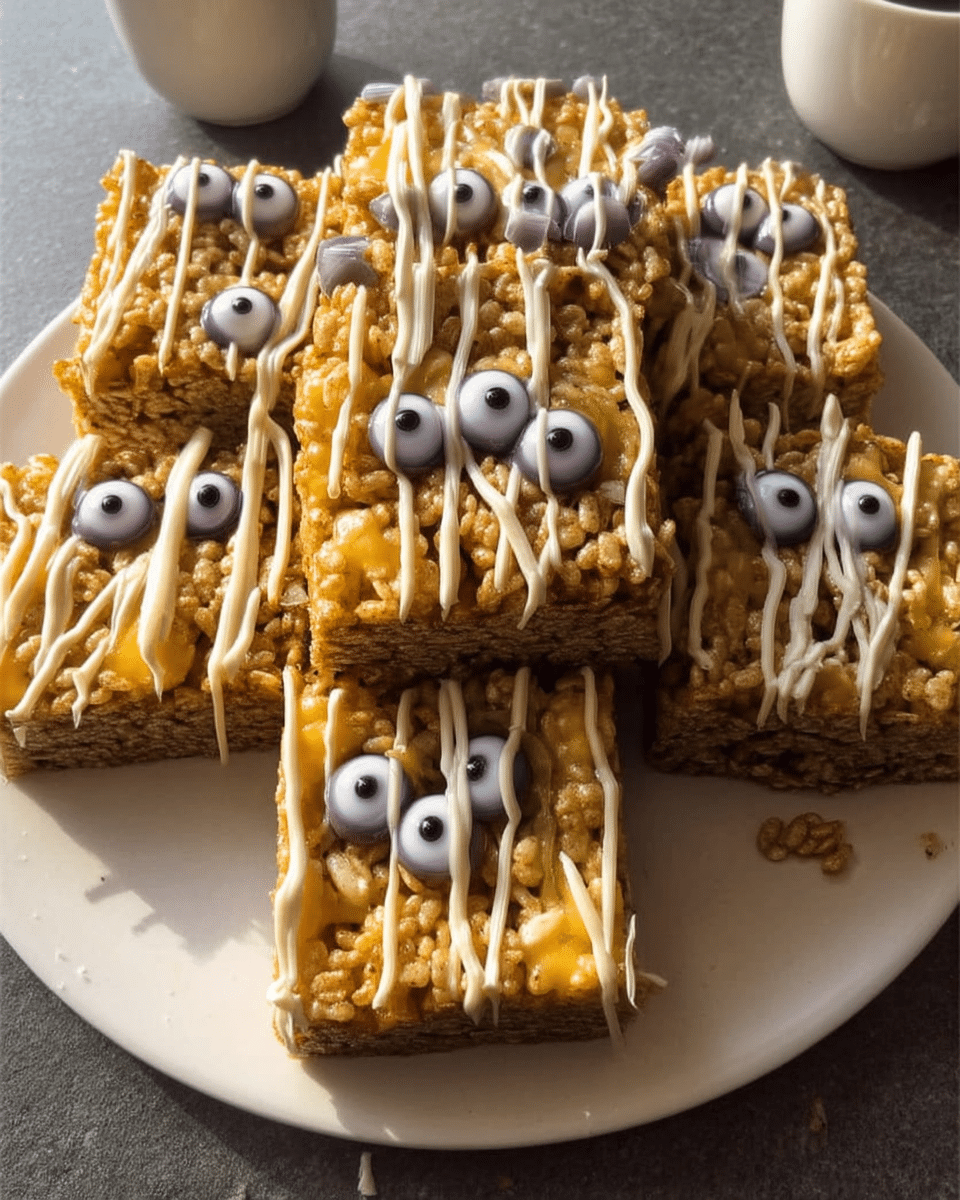
Halloween is creeping up, and what better way to celebrate than with these adorable Mummy Rice Krispie Treats? They’re a fun and easy project to do with the little ones, or even a quick spooky snack for yourself.
These Mummy Rice Krispies are a twist on the classic treat, combining the familiar crunch with a festive Halloween look. They’re the perfect blend of sweet and spooky, and they’ll vanish from your treat plate faster than a ghost in the night.
Why You’ll Love It
These Mummy Rice Krispie Treats aren’t just cute; they’re also incredibly easy to make! With just a handful of ingredients and a few simple steps, you’ll have a spooky-sweet treat that’s perfect for Halloween. Kids will love helping to assemble these adorable mummies, making it a fun and interactive activity for the whole family. They are also super customizable—feel free to experiment with different cereals, chocolates, and toppings. Plus, they’re no-bake, which is always a win in my book!
Print
Mummy Rice Krispie Treats
- Total Time: 30 mins
- Yield: 10 servings
Description
Get ready to wrap up some spooky-sweet fun with these easy Mummy Rice Krispie Treats! Perfect for Halloween, these no-bake treats are a simple and delicious project for the whole family. Customize them with different cereals and candies for a personalized monster mash.
Ingredients
- 3 Tbsp. butter
- 5 1/2 cups mini marshmallows (or one 10-oz. bag)
- 6 cups Rice Krispies cereal
- 8 oz. white chocolate (melted, or melting candy)
- 20 candy eyeballs (or mini chocolate chips)
Instructions
- Melt butter in a large saucepan over low heat. Add marshmallows and stir until melted. Remove from heat and fold in Rice Krispies.
- Butter a 9×13 inch pan and press the mixture in. Refrigerate for 10 minutes.
- Cut into 10 rectangles. Melt white chocolate. Attach candy eyeballs with melted chocolate.
- Transfer melted chocolate to a ziplock bag, snip a corner, and drizzle over the treats. Let set completely.
Notes
For a less messy experience, line your baking pan with parchment paper, leaving an overhang on the sides for easy removal. If you don’t have candy eyeballs, mini chocolate chips, raisins, or even small candies work as substitutes. For a fun variation, consider adding a few drops of food coloring to the white chocolate before drizzling.
- Prep Time: 15 mins
- Cook Time: 15 mins
- Category: Dessert
- Method: No-Bake
- Cuisine: American
What You’ll Need
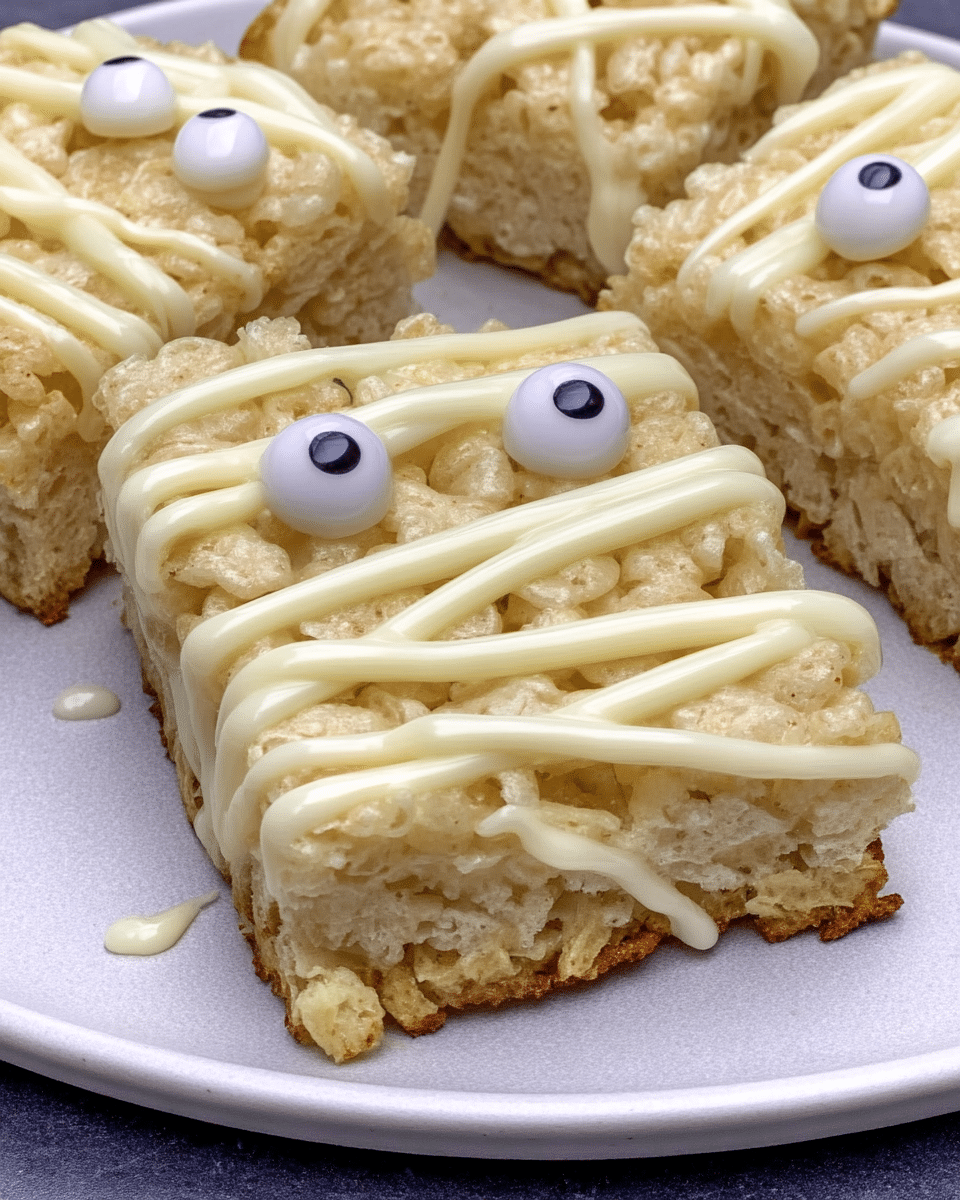
Here’s what you’ll need to make these adorable mummies. Pretty simple, right?
- For the Treats:
- 3 Tbsp. butter
- 5 1/2 cups mini marshmallows (or one 10-oz. bag)
- 6 cups Rice Krispies cereal
- For the Mummy Decoration:
- 8 oz. white chocolate (melted, or melting candy)
- 20 candy eyeballs (or mini chocolate chips)
See? Nothing scary here, just a few pantry staples and some fun Halloween additions. You probably already have most of these ingredients on hand!
Step-by-Step Instructions
These treats are surprisingly simple to make. Ready to get wrapping?
Step 1: Create the Rice Krispie Base
In a large saucepan, melt the butter over low heat. Add the mini marshmallows and stir constantly until completely melted and smooth. Remove from heat and gently fold in the Rice Krispies cereal until evenly coated.
Step 2: Set the Treats
Butter a 9×13 inch baking pan. Evenly press the Rice Krispie mixture into the prepared pan. Use a buttered spatula or wax paper to help spread the mixture and avoid sticky fingers. Refrigerate for about 10 minutes to firm up.
Step 3: Make the Mummies
Once firm, cut the Rice Krispie treats into 10 rectangular pieces—these are your mummy shapes! Melt the white chocolate in a microwave-safe bowl in short bursts, stirring until smooth. Dab a little melted chocolate on the back of each candy eyeball and attach two eyes to each Rice Krispie treat.
Step 4: Wrap the Mummies
Transfer the melted white chocolate to a ziplock bag. Snip a small corner off the bag and drizzle the chocolate over the mummies in a random, wrap-like pattern. Let the chocolate set completely. If you’re short on time, pop them back in the fridge to speed things up.
Better-Than-Grandma Tips
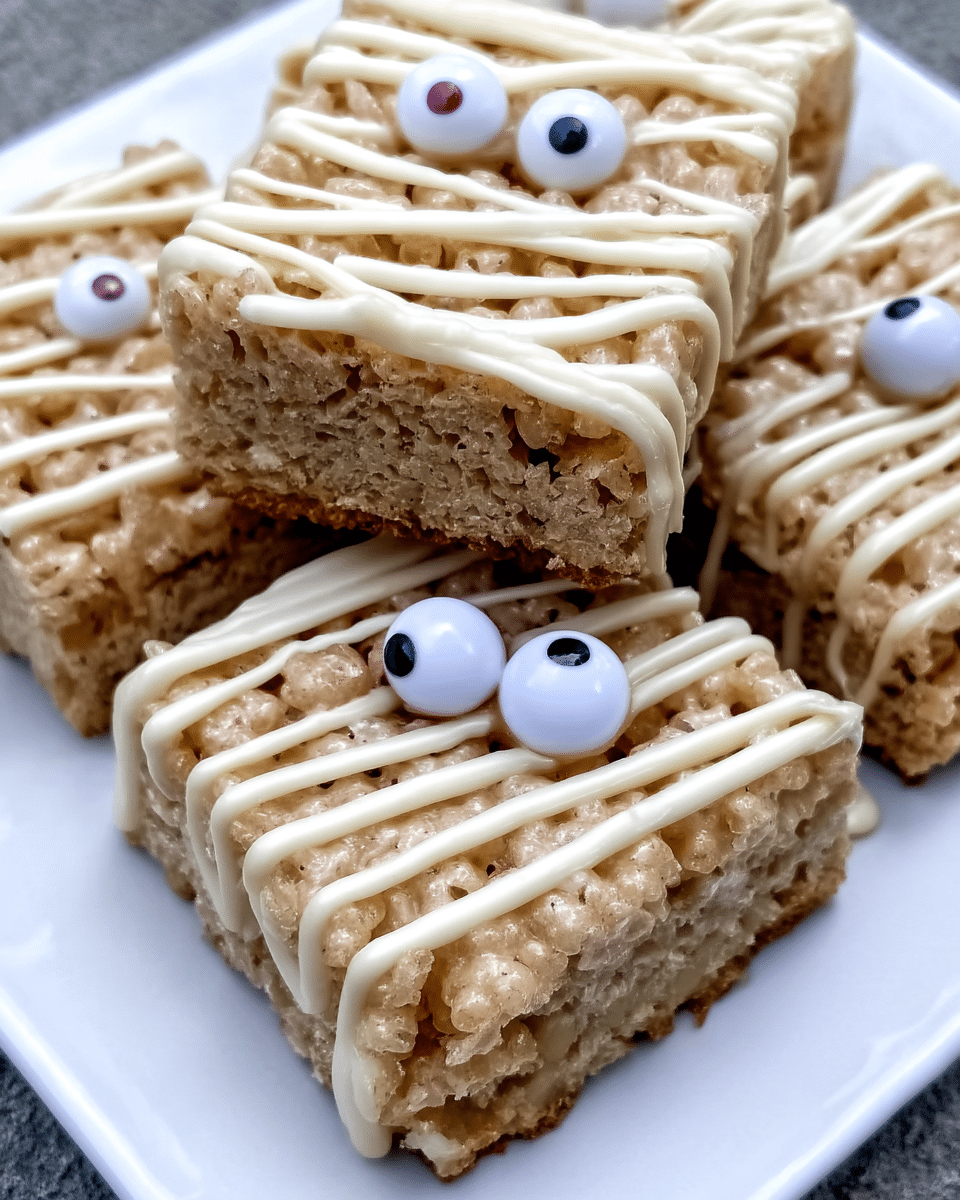
Here are a few tips to make your Mummy Rice Krispie Treats even better:
- Butter Up: Grease your hands or the spatula with a little extra butter to prevent sticking when pressing the treats into the pan. For easier clean-up, line the pan with parchment paper, leaving an overhang on the sides. You can lift the entire batch out once it sets and then cut! Check our tips on lining baking pans for a step-by-step guide.
- Melting Magic: Don’t overheat the white chocolate—short bursts in the microwave are best. Stir frequently until smooth.
- Eye Spy: If you can’t find candy eyeballs, mini chocolate chips make a great substitute. Or get creative with other candies!
Try These Variations
Want to switch things up? Here are a few fun variations:
- Chocolate Mummies: Use Cocoa Krispies instead of regular Rice Krispies for a chocolatey twist. Drizzle with dark chocolate instead of white for a twist!
- Fruity Monster Treats: Make the base with Fruity Pebbles cereal and drizzle with orange or green candy melts. Skip the eyes, or use sprinkles for spots!
- Rainbow Wrapped Mummies: Use different colors of candy melts for drizzling, creating vibrant rainbow mummies. How about a little food coloring in the white chocolate? Get the kids involved! Check our other ideas for creative recipes on the lunch ideas page!
These are just a few ideas; feel free to get creative and personalize your mummies!
Can I use a different type of cereal?
Absolutely! You can use any type of cereal you like. Some fun alternatives include Cocoa Krispies, Fruity Pebbles, or even Cheerios. Just keep in mind that the final texture might vary slightly depending on the cereal you choose.
Can I use different chocolate for drizzling?
You sure can! Milk chocolate, dark chocolate, or even butterscotch chips would be delicious. White chocolate is traditional for the mummy look, but feel free to get creative!
How should I store these treats?
Yes, these treats can be stored in an airtight container at room temperature for up to 3 days. For longer storage, you can freeze them for up to 2 months. Just be sure to thaw them completely before serving.
What occasions are these good for?
These treats are great for classroom parties, Halloween gatherings, or any spooky celebration! They’re also a fun activity to do with kids on a rainy afternoon.
How to Serve
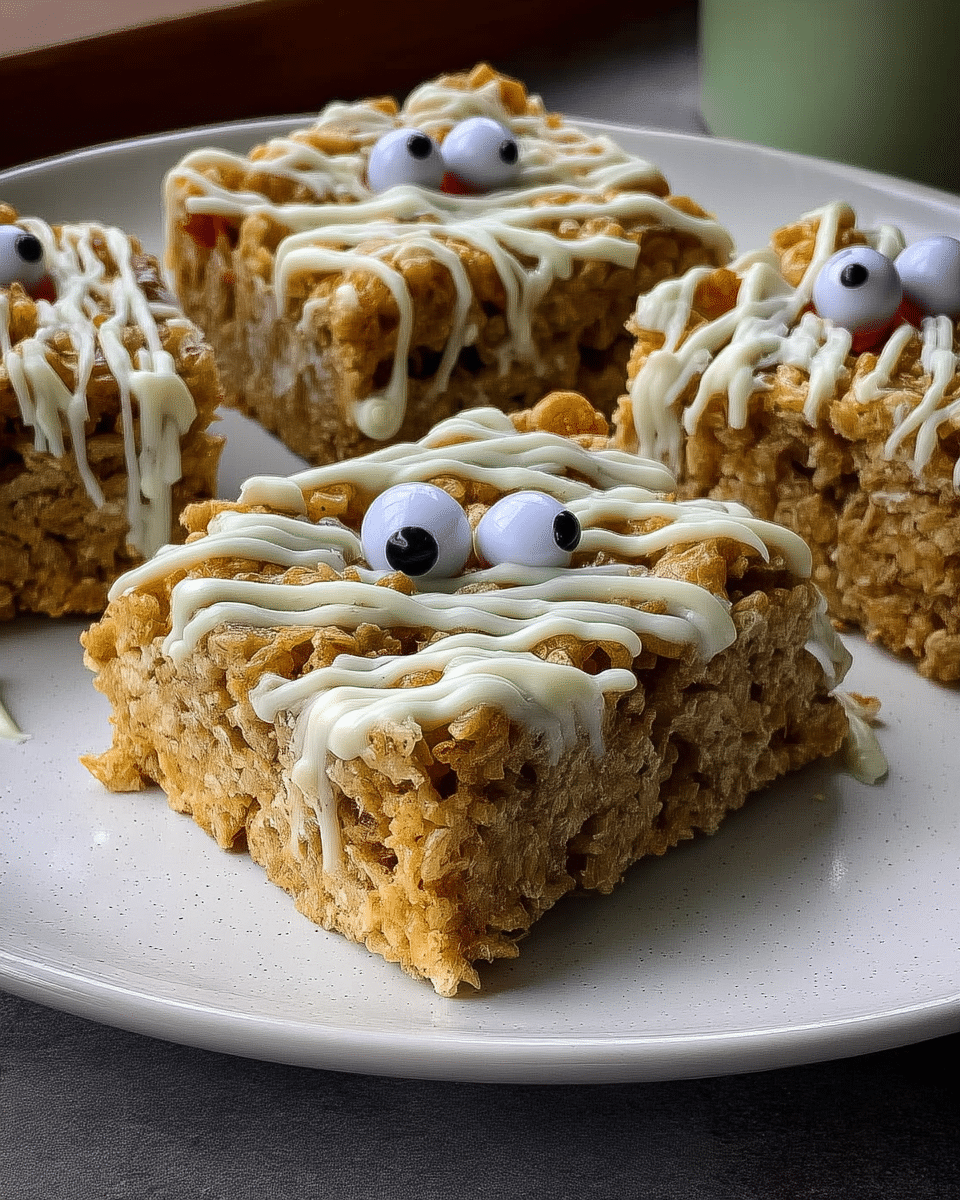
These Mummy Rice Krispie Treats are perfect for any Halloween gathering! Here are a few ideas:
- Party Platter: Arrange them on a platter with other Halloween goodies like candy corn, ghost-shaped pretzels, and spiderweb cookies. You can discover some of our favorite recipes on the dessert page!
- Lunchbox Surprise: Pack them in your child’s lunchbox for a fun and festive midday treat. Add some fruit and a small sandwich for a spooky balanced lunch.
- Spooky Snack: Enjoy them as an after-school snack or a simple dessert on a chilly autumn evening. A glass of cold milk is the perfect pairing.
That’s a Wrap
These Mummy Rice Krispie Treats are a spooky-sweet delight, perfect for Halloween parties or a fun after-school activity! They’re easy to make, customizable, and oh-so-delicious. So gather your ingredients, call the kids into the kitchen, and get ready to wrap up some mummy magic!
Want more fun treats? Explore our Desserts category for delicious inspiration! Find me on social media—let’s connect!


1 thought on “Mummy Rice Krispie Treats”