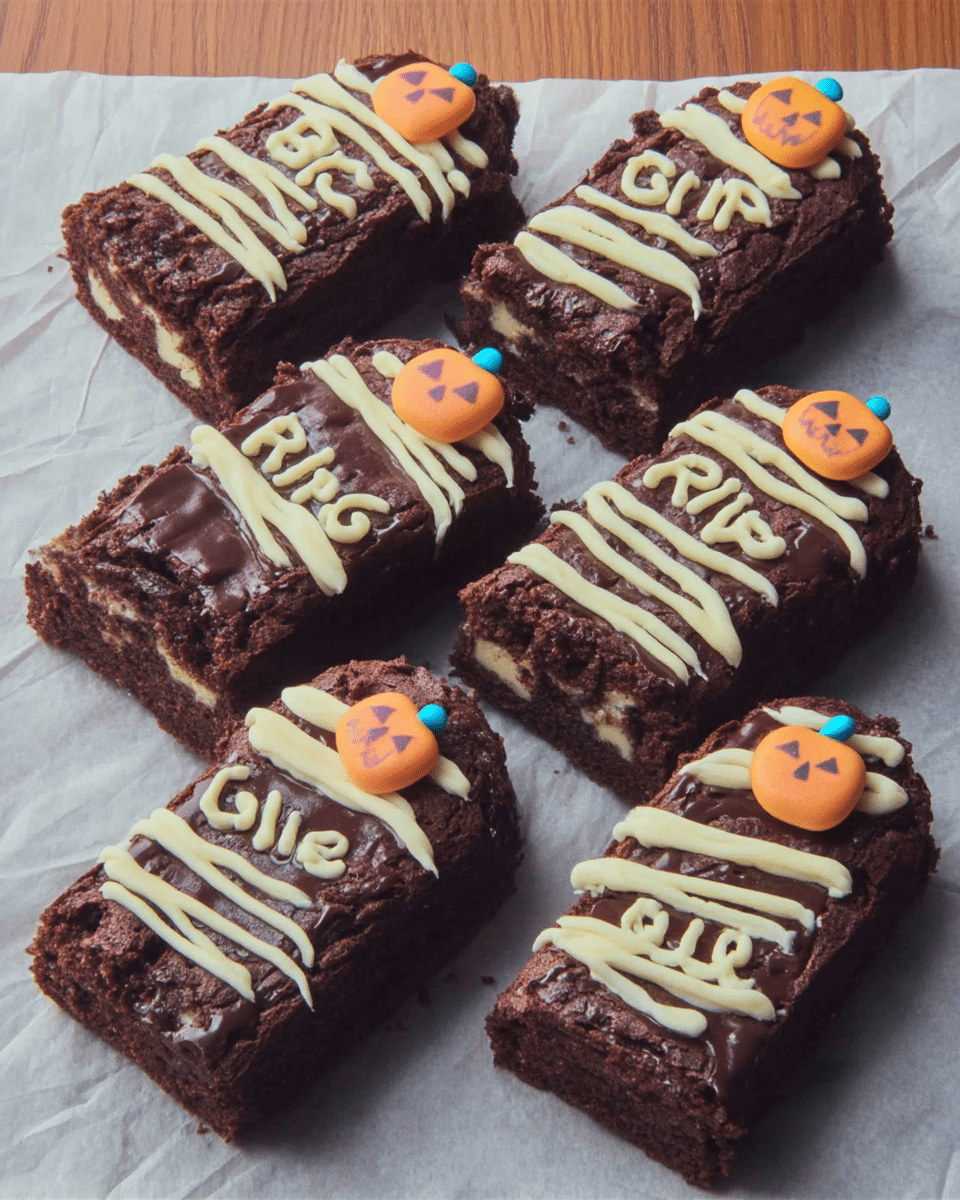
Halloween is just around the corner, and if you’re looking for a spooky and delicious treat to impress your friends and family, look no further than these Graveyard Brownies! They are rich, fudgy, and decorated with cookie “tombstones” and candy pumpkins, making them the perfect dessert for your Halloween party. My kids always beg me to make these every year.
These Graveyard Brownies are surprisingly simple to make, using a boxed brownie mix as the base. You can easily customize the decorations to create your own spooky graveyard scene—get creative and have fun with it! These brownies are not only delicious but also a fun activity for kids to help with. Trust me; these Graveyard Brownies will disappear faster than a ghost in the night.
Why You’ll Love It
These Graveyard Brownies aren’t just a treat for the eyes; they’re a delight for the taste buds too! Here’s why you’ll love them:
- Fudgy and Delicious: The base of this recipe is a classic brownie, so you know it’s going to be rich, chocolatey, and oh-so-satisfying.
- Easy to Make: Using a brownie mix makes this recipe a breeze, even for beginner bakers. The decorating is easy too! Just don’t be afraid to let loose and have fun with it.
- Fun and Festive: The spooky graveyard theme makes these brownies perfect for Halloween parties and gatherings. Plus, they’re super fun for the whole family to help assemble!
Graveyard Brownies
- Total Time: 40 mins
- Yield: 16 brownies
Description
These spooky Graveyard Brownies are rich, fudgy, and easy to make with a boxed brownie mix base. Decorated with cookie “tombstones” and candy pumpkins, they’re the perfect Halloween treat! A fun baking activity for the whole family.
Ingredients
- One box of your favorite brownie mix (plus the ingredients called for on the box—usually eggs, oil, and water)
- 12 rectangular cookies (Milano cookies are perfect, but graham crackers or shortbread cookies work well too!)
- Black gel icing or melted dark chocolate (for writing “RIP”)
- Crushed chocolate sandwich cookies (for the graveyard “dirt”)
- Candy pumpkins and any other spooky candies you like (for decoration)
Instructions
- Prepare the brownie mix according to the package directions. Pour the batter into a greased baking pan. Bake as directed and let the brownies cool completely before cutting into squares.
- While the brownies are cooling, make the tombstones. Use black gel icing or melted dark chocolate to write “RIP” on each rectangular cookie.
- Once the brownies are completely cool, cut them into squares. Press the tombstone cookies into the top of each brownie. Sprinkle crushed chocolate sandwich cookies around the tombstones to create the graveyard “dirt.”
- Add candy pumpkins and other spooky candies to complete the graveyard scene.
Notes
For a cleaner presentation, pipe the RIP epitaphs on the cookies using a piping bag or zip-top bag with a corner snipped off. If you don’t have rectangular cookies, use graham crackers or even cut squares from larger cookies. Consider using candy melts instead of gel icing; they harden quickly for a cleaner finish.
- Prep Time: 15 mins
- Cook Time: 25 mins
- Category: Dessert
- Method: Baking
- Cuisine: American
Ingredient Lowdown
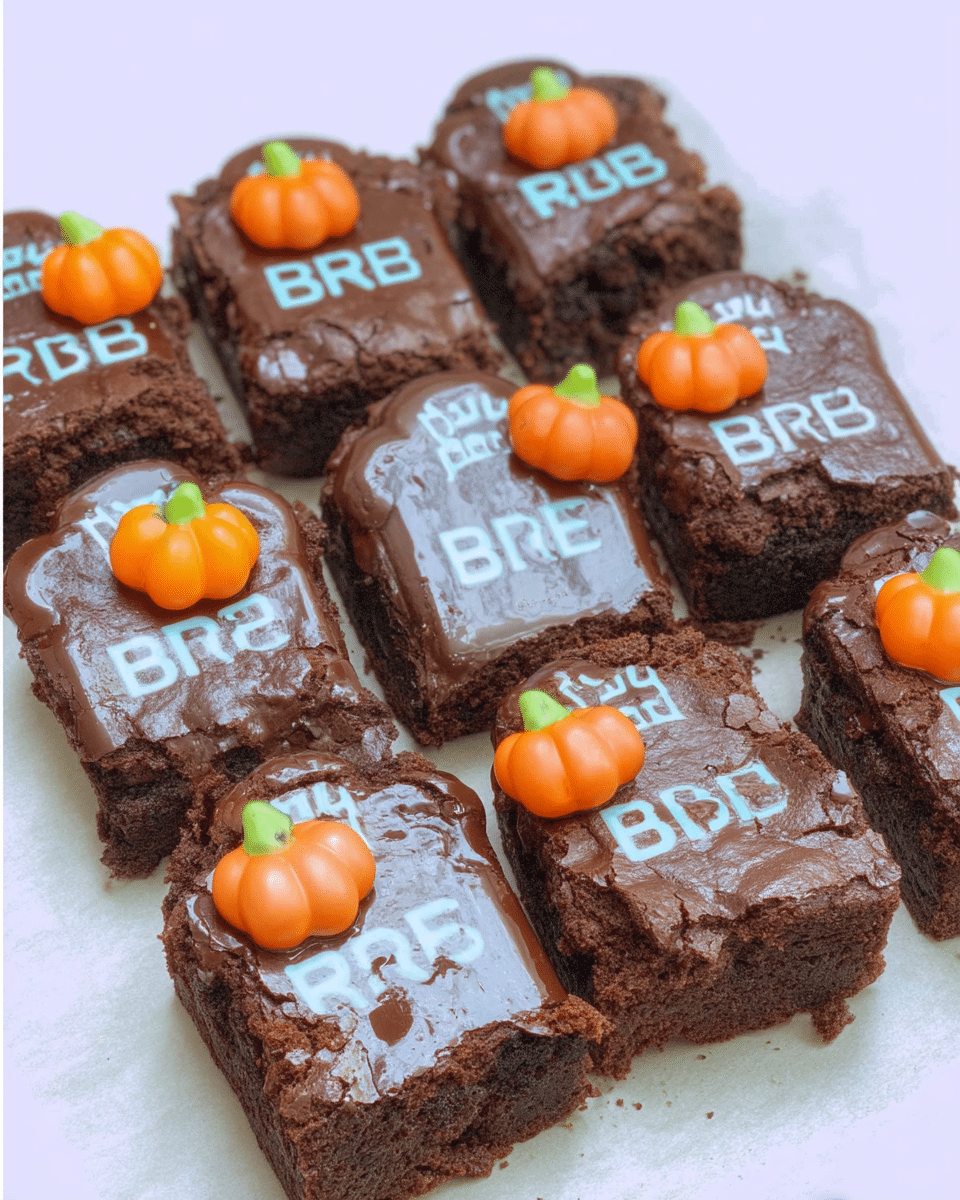
Here’s what you’ll need to make these spooky Graveyard Brownies. This is a pretty simple recipe, using your favorite brownie mix as a starting point.
- One box of your favorite brownie mix (plus the ingredients called for on the box—usually eggs, oil, and water)
- 12 rectangular cookies (Milano cookies are perfect, but graham crackers or shortbread cookies work well too!)
- Black gel icing or melted dark chocolate (for writing “RIP”)
- Crushed chocolate sandwich cookies (for the graveyard “dirt”)
- Candy pumpkins and any other spooky candies you like (for decoration)
Step-by-Step Instructions
Follow these steps to create your graveyard masterpiece:
Step 1: Bake the Brownies
Prepare the brownie mix according to the package directions. Pour the batter into a greased baking pan. Bake as directed and let the brownies cool completely before cutting into squares.
Step 2: Make the Tombstones
While the brownies are cooling, make the tombstones. Use black gel icing or melted dark chocolate to write “RIP” on each rectangular cookie. If you want to be extra spooky, consider different epitaphs. Or, add fun designs like ghosts, bats, or spiders.
Step 3: Assemble the Graveyard
Once the brownies are completely cool, cut them into squares. Press the tombstone cookies into the top of each brownie. Sprinkle crushed chocolate sandwich cookies around the tombstones to create the graveyard “dirt.”
Step 4: Decorate!
Add candy pumpkins and other spooky candies to complete the graveyard scene. Get creative and have fun with it!
Better-Than-Grandma Tips
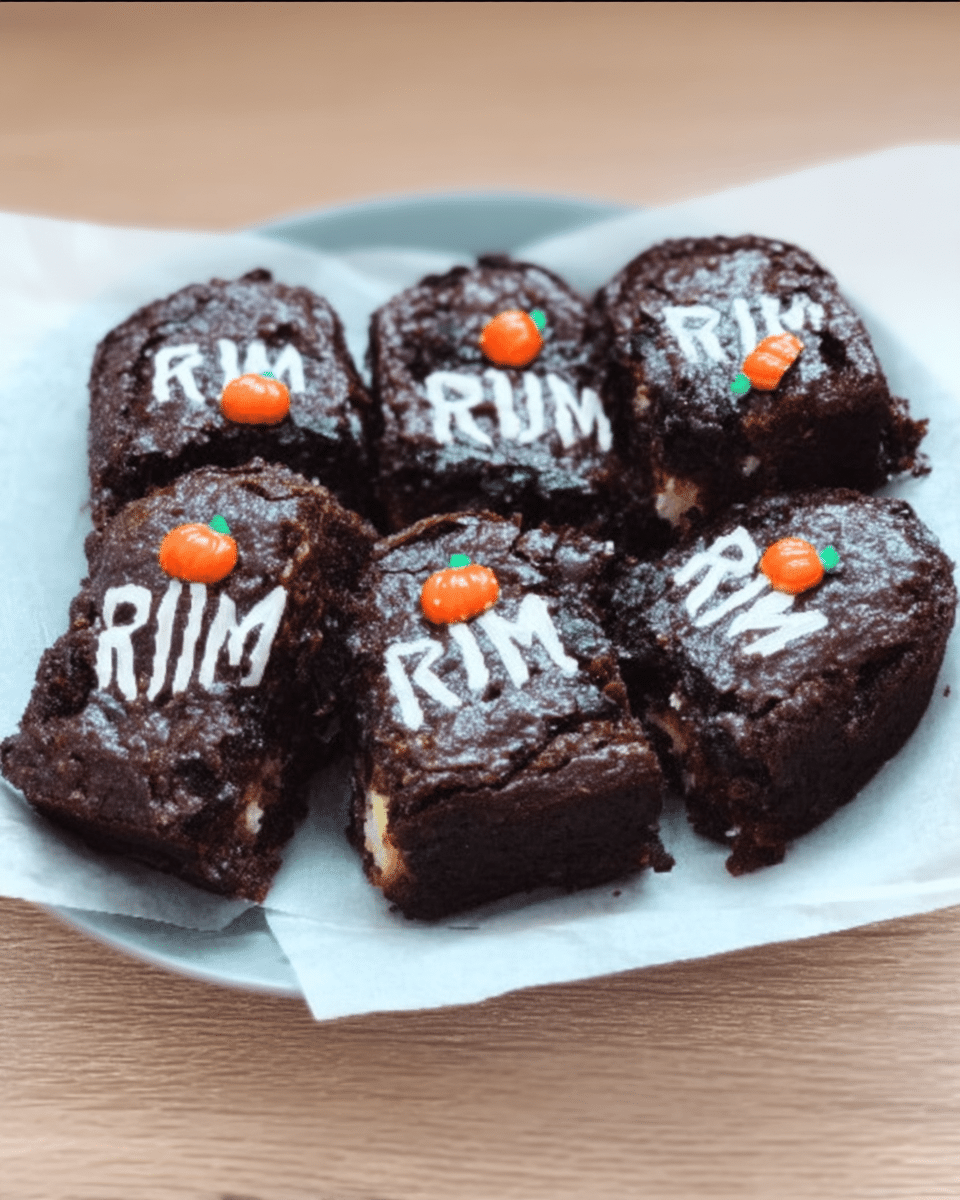
Here are a few tips to help you make the best Graveyard Brownies:
- Make sure your brownies are completely cool before adding the decorations to prevent the icing from melting. Cooling completely will also make the brownies easier to cut.
- If you’re using Milano cookies for the tombstones, you can gently break them in half to create a more realistic tombstone shape. You can even slant them against each other.
- Get creative with the decorations! Add gummy worms, candy eyeballs, or other spooky candies to the graveyard scene. See our tips for baking with kids for more ideas.
Flavor Twists
Here are a few fun variations to try:
- Mint Chocolate Graveyard: Use a mint chocolate brownie mix and decorate with green candy melts and crushed Oreo cookies for “dirt.”
- Caramel Apple Graveyard: Use a caramel brownie mix and decorate with candy corn and crushed gingersnap cookies for “dirt.”
- Red Velvet Graveyard: Use a red velvet brownie mix and decorate with white chocolate tombstones and crushed red velvet cookies for “dirt.” If you love red velvet, take a look at our other red velvet recipes.
- Peanut Butter Graveyard: Use a peanut butter brownie mix, chocolate tombstones, and crushed peanut butter cookies for the “dirt.” Add some candy spiders or other spooky peanut butter candies for decoration.
What kind of cookies can I use for the tombstones?
You can use any type of rectangular cookie for the tombstones, such as Milano cookies, graham crackers, or even shortbread cookies. Just make sure they’re firm enough to stand up in the brownies.
What can I use instead of black gel icing?
If you don’t have black gel icing, you can melt some dark chocolate chips and use a toothpick or piping bag to write “RIP” on the cookies.
Can I make these brownies ahead of time?
Yes, you can bake the brownies ahead of time and store them in an airtight container at room temperature for up to 3 days. Decorate the brownies with the tombstones and candy just before serving.
How can I make these brownies even spookier?
For a fun twist, try adding gummy worms or other creepy crawly candies to the “dirt” for an extra spooky touch. You could also use different colored candy pumpkins or add some spooky sprinkles.
How to Serve
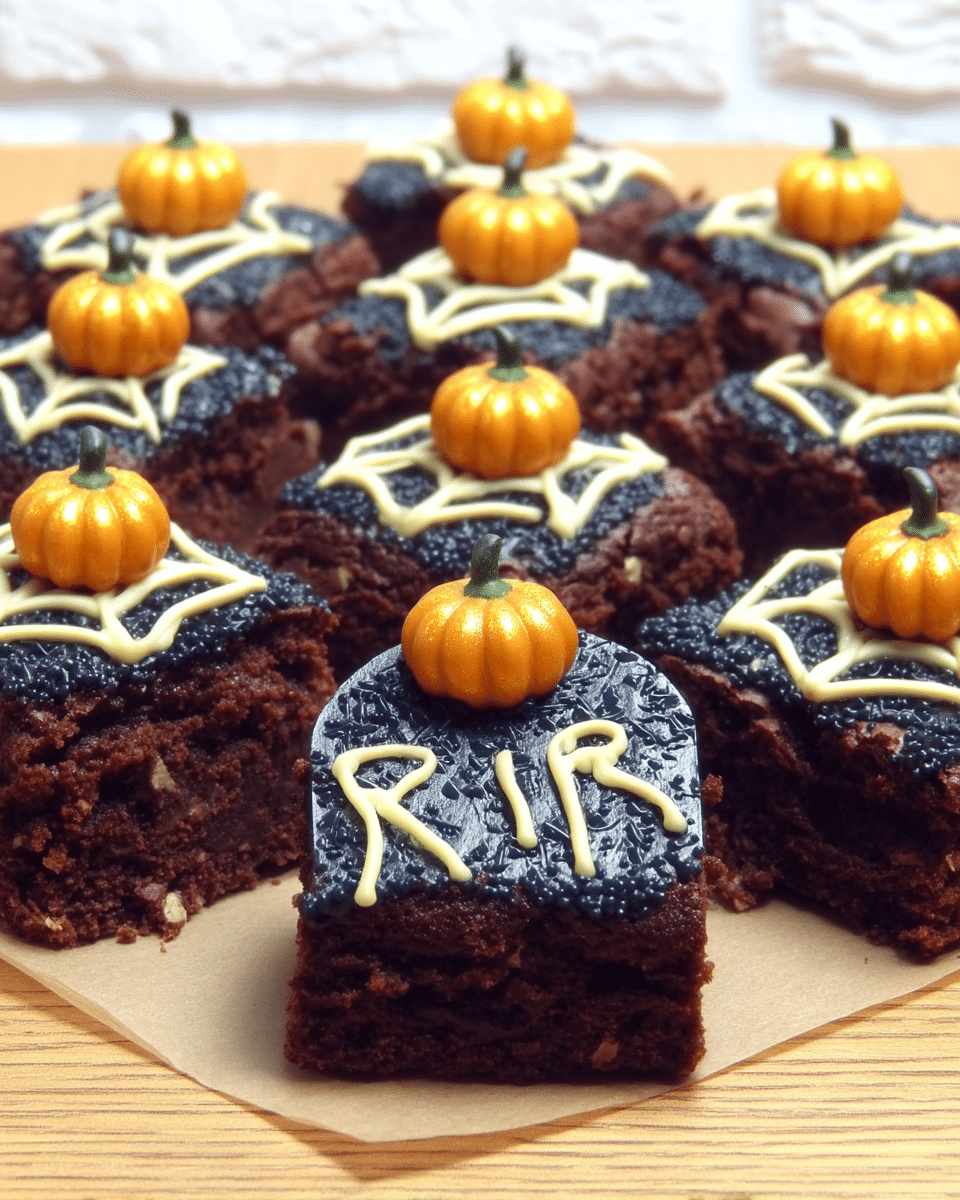
These Graveyard Brownies are delicious on their own, but you can also serve them with a scoop of vanilla ice cream or a glass of cold milk. For other festive treats, check out our Halloween Recipes. If you’re looking for something a little less spooky and a little more everyday, be sure to check out our favorite brownie recipe. They’re amazing!
That’s a Wrap
These Graveyard Brownies are sure to be a hit at your next Halloween gathering! They’re spooky, fun, and oh-so-delicious. The combination of fudgy brownies, crunchy tombstones, and candy decorations creates a dessert that’s both tasty and visually appealing. Don’t forget to share the fun with your friends and family—these brownies are best enjoyed with a side of spooky stories and good company. Check out our other delicious dessert recipes for more inspiration. Follow us on Pinterest for daily inspiration! Don’t forget to follow us on Facebook and Instagram too!
