Halloween is just around the corner, and if you’re like me, you’re already dreaming up spooky treats to share. This Sweet and Salty Halloween Bark Recipe is not only delicious but also incredibly fun to make, especially with little helpers. Last year, my kids and I made a triple batch of this festive bark, and let me tell you, it disappeared faster than a ghost in a graveyard!
The combination of rich chocolate, crunchy pretzels, and sweet candy corn is simply irresistible. Plus, those adorable edible eyeballs add just the right touch of Halloween whimsy. Get ready to create a treat that’s both easy and impressive, perfect for parties, trick-or-treaters, or a simple weeknight indulgence.
Why You’ll Love This Halloween Bark
This Sweet and Salty Halloween Bark is a hit for so many reasons:
- Quick & Easy: It takes only minutes to melt the chocolate and assemble the bark, making it perfect for busy weeknights or last-minute Halloween gatherings.
- Festive & Fun: With colorful sprinkles, candy corn, and edible eyeballs, this bark captures the spirit of Halloween perfectly. It’s a fun activity for kids and adults alike.
- Sweet & Salty: The combination of salty pretzels, sweet candy corn, and rich chocolate creates a delicious flavor balance that everyone will love.
- Customizable: Feel free to get creative with your toppings! Swap out the candy corn for other Halloween candies, or add different sprinkles to match your party theme.
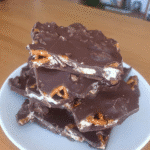
Sweet and Salty Halloween Bark Recipe
- Total Time: 45 mins
- Yield: 12-15 servings
Description
This easy, no-bake Halloween bark is a perfect blend of sweet and salty. The combination of chocolate, pretzels, and candy corn creates a festive treat that’s both fun to make and delicious to eat. Perfect for parties or a spooky movie night!
Ingredients
- 1 cup chocolate chips (190g / 6.65 oz.)
- ½ cup chopped pretzels (28g)
- ¼ cup candy corn (50g)
- 1 tablespoon Halloween sprinkles (15g)
- 1 ½ teaspoons eyeball sprinkles (6g)
Instructions
- Prep the Pan: Line a rimmed sheet pan with parchment paper.
- Melt the Chocolate: Place chocolate chips in a microwave-safe bowl and melt in 30-second intervals, stirring until smooth.
- Spread the Chocolate: Pour melted chocolate onto the prepared pan and spread evenly.
- Add the Toppings: Sprinkle pretzels, candy corn, and Halloween sprinkles over the chocolate, pressing gently.
- The Spooky Eyes: Place edible eyeball sprinkles on top.
- Chill & Set: Refrigerate for at least 30 minutes until firm.
- Break & Serve: Break into irregular pieces and serve.
Notes
For a smoother melting process, use a double boiler instead of a microwave. If you don’t have edible eyeballs, use mini M&Ms or other small candies. To create a layered look, use different types of chocolate and melt them separately. Let each layer set slightly before adding the next.
- Prep Time: 10 mins
- Cook Time: 5 mins
- Category: Dessert
- Method: No-Bake
- Cuisine: American
Ingredient Overview
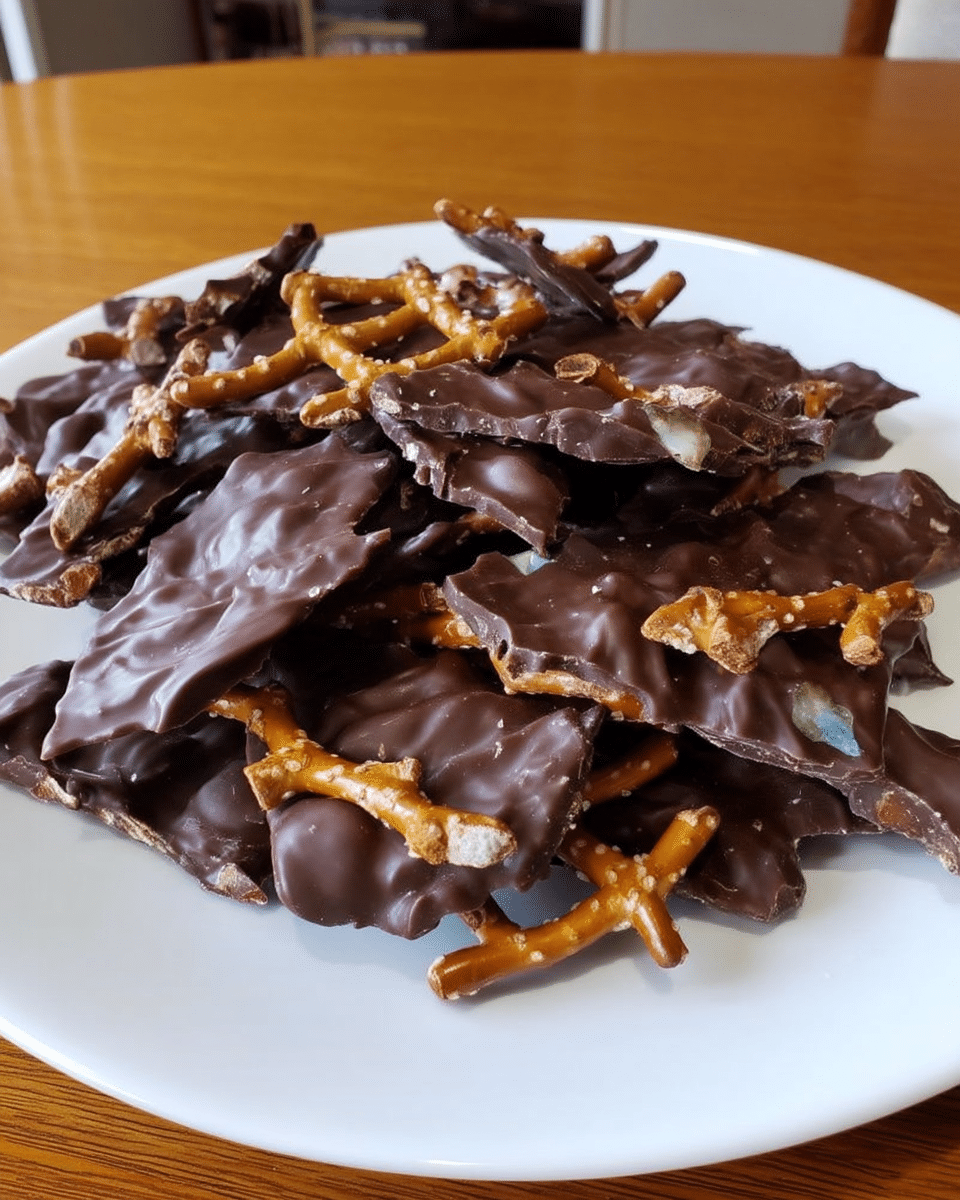
Here’s what you’ll need to gather from your pantry:
- 1 cup chocolate chips (190g / 6.65 oz.): Use semi-sweet, milk chocolate, or dark chocolate chips – whatever your heart desires!
- ½ cup chopped pretzels (28g): The pretzels add a salty crunch that perfectly complements the sweetness of the chocolate.
- ¼ cup candy corn (50g): A classic Halloween treat that brings festive color and sweetness to the bark.
- 1 tablespoon Halloween sprinkles (15g): These colorful sprinkles add extra Halloween cheer!
- 1 ½ teaspoons eyeball sprinkles (6g): Edible eyeballs are the perfect spooky finishing touch.
Step-by-Step Instructions
Step 1: Prep the Pan
Line a rimmed sheet pan with parchment paper. This will prevent the bark from sticking and make it easy to remove later. Set the prepared pan aside.
Step 2: Melt the Chocolate
Place the chocolate chips in a microwave-safe bowl. Melt in 30-second intervals, stirring after each interval, until the chocolate is smooth and completely melted. Be careful not to overheat the chocolate.
Step 3: Spread the Chocolate
Pour the melted chocolate onto the prepared baking sheet. Using an offset spatula, spread the chocolate evenly into a thin layer, about ¼ inch thick. A thinner bark makes for more pieces and sets faster.
Step 4: Add the Toppings
Now comes the fun part! Sprinkle the chopped pretzels, candy corn, and Halloween sprinkles evenly over the melted chocolate. Gently press the toppings into the chocolate to ensure they stick.
Step 5: The Spooky Eyes
Carefully place the edible eyeball sprinkles on top of the bark, spacing them out as desired. These add the perfect spooky touch!
Step 6: Chill & Set
Place the baking sheet in the refrigerator for at least 30 minutes, or until the chocolate is completely set and firm. Once set, you can easily lift the bark from the pan by grabbing the edge of the parchment.
Step 7: Break & Serve
Once the bark is firm, use a sharp knife to break it into irregular pieces, about 1-2 inches in size. Serve immediately or store in an airtight container in the refrigerator for later.
Pro Tips
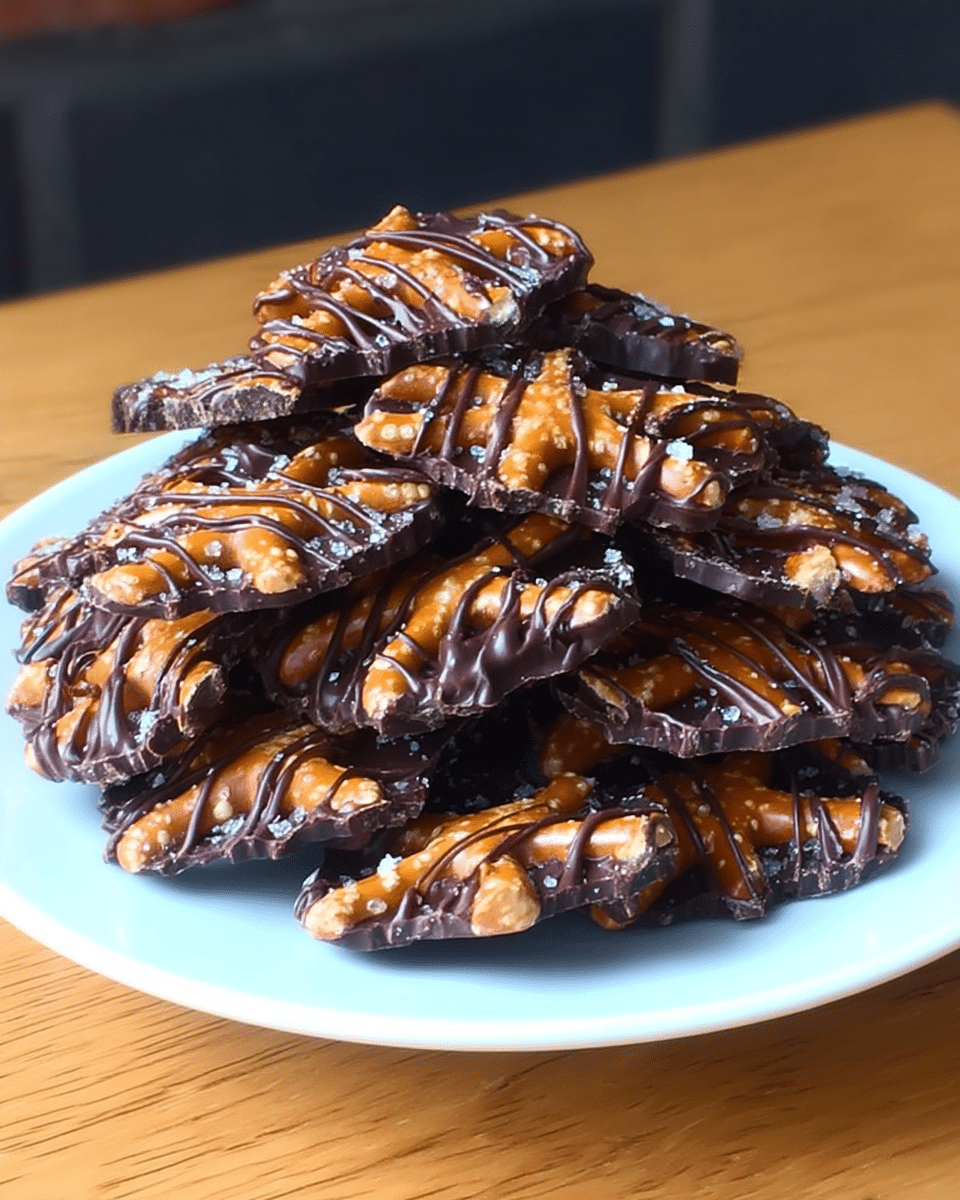
- Chocolate Choice: For a sweeter bark, use milk chocolate chips. For a richer flavor, go with dark chocolate. You can even mix different types of chocolate for a layered effect!
- Melting Magic: Be careful not to overheat the chocolate when melting. Stirring at regular intervals helps ensure even melting and prevents scorching. If the chocolate seems too thick, add a teaspoon of coconut oil or shortening to help thin it out.
- Top It Off: Don’t be afraid to get creative with your toppings! Try adding other Halloween candies, chopped nuts, or even dried fruit. Check out our delicious dessert recipes for topping inspiration!
- Storage Smarts: Store the bark in an airtight container in the refrigerator to prevent it from melting or becoming sticky.
Recipe Variations
- White Chocolate Monster Bark: Use white chocolate chips and add green food coloring for a spooky monster theme. Top with gummy worms and candy eyes.
- Pumpkin Spice Bark: Melt white chocolate chips and add pumpkin spice seasoning. Top with chopped pecans and a drizzle of melted dark chocolate. So simple, yet so delicious! For more autumn-inspired desserts, explore our fall favorites.
- Mummy Bark: Use white chocolate chips and create a mummy design by drizzling melted dark chocolate in thin lines over the bark. Add candy eyes for a fun finish.
How long does Halloween bark last?
Stored properly in an airtight container in the refrigerator, Halloween bark can last for up to two weeks. But honestly, it’s so good, it probably won’t last that long!
Can I use other types of pretzels?
Absolutely! Feel free to use any type of pretzel you like, such as pretzel sticks, mini pretzels, or even flavored pretzels. Just be sure to chop them into smaller pieces before adding them to the bark.
Can I make this bark ahead of time?
Yes, Halloween bark is a great make-ahead treat! Prepare the bark a few days in advance and store it in the refrigerator until you’re ready to serve.
What if my chocolate seizes when melting?
If your chocolate becomes thick and grainy when melting, it’s likely seized. Don’t worry – you can usually fix it by adding a teaspoon of warm water or coconut oil to the chocolate and stirring vigorously until smooth. Alternatively, add a teaspoon of shortening to thin the chocolate out.
Serving Suggestions
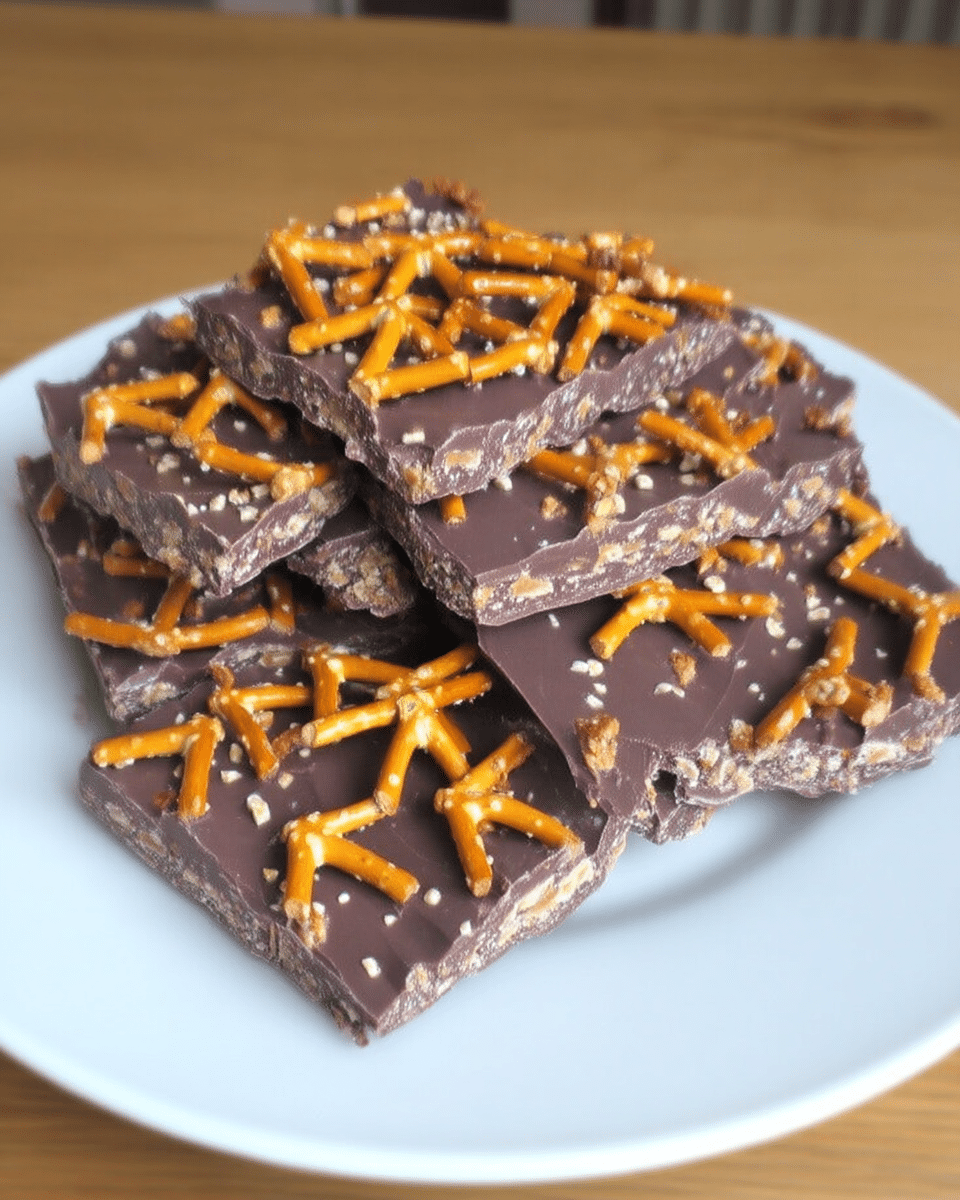
This Sweet and Salty Halloween Bark is perfect for all sorts of occasions:
- Halloween Parties: Set out a platter of bark for guests to enjoy at your spooky celebrations.
- Trick-or-Treaters: Package individual pieces of bark in cellophane bags for a fun and festive treat. If you’re looking for more delicious Korean recipes, check out our collection of easy Korean dishes that are perfect for any gathering!
- Movie Night: Curl up on the couch with a bowl of bark and your favorite Halloween movie.
- Sweet Treat: Enjoy a piece (or two!) as a simple afternoon pick-me-up.
Final Thoughts
This Sweet and Salty Halloween Bark is more than just a treat – it’s an experience. From the fun of making it to the joy of sharing it, this bark is sure to be a Halloween favorite. So grab your ingredients, gather your little monsters, and get ready to create some spooky deliciousness! Don’t forget to share your spooky creations with me on social media!
Find me on Pinterest, Instagram, and Facebook. You can also check out more delightful recipes right here on our site, like this Korean BBQ Beef.


