Halloween is just around the corner, and what better way to celebrate than with a spooky and delicious Halloween Cheesecake? This creamy, dreamy dessert is a fun and festive twist on a classic cookies and cream cheesecake. Last year, my kids begged me to make a Halloween dessert, and this cheesecake was a huge hit! It’s the perfect centerpiece for your Halloween party, or a delightful treat to enjoy with family and friends.
The orange-tinted cheesecake batter is studded with chunks of Halloween Oreos, and the crust is made from crushed Oreos and butter. Topped with adorable whipped cream ghosts, it’s both spooky and sweet. This recipe is surprisingly easy to follow, even for beginner bakers. Trust me, it’s going to be a scream!
Why You’ll Love It
This Halloween Cheesecake isn’t just a dessert; it’s an experience! It’s the perfect blend of spooky and sweet, making it a crowd-pleaser for any Halloween gathering. The creamy, dreamy texture combined with the crunchy Oreo crust and chunks is pure heaven. It’s a delicious dessert that is sure to impress your guests.
Print
Halloween Cheesecake
- Total Time: 2 hours to 2 hours 20 minutes + chilling time
- Yield: 12 servings
Description
This spooky Halloween Cheesecake is a creamy, dreamy dessert with a crunchy Oreo crust and festive whipped cream ghosts. It’s a fun and easy recipe, perfect for Halloween parties or any fall gathering. The orange-tinted cheesecake is filled with Halloween Oreo chunks, making it a delicious and impressive treat.
Ingredients
- 20 Oreos (Halloween or regular)
- ¼ cup (57g) unsalted butter, melted
- 32 ounces (900g) full-fat block cream cheese, softened
- 1 cup (200g) granulated sugar
- ¼ cup (60mL) heavy whipping cream, at room temperature
- 5 ounces (153g) Greek yogurt or sour cream, at room temperature
- 1 Tablespoon vanilla extract
- Orange food coloring (gel recommended)
- 4 large eggs, at room temperature
- 2 large egg yolks, at room temperature
- 14 Oreos, chopped
- 1 cup homemade whipped cream
- Candy eyes
Instructions
- Preheat oven to 325ºF (162ºC). Grease a 9″ springform pan. Crush Oreos and mix with melted butter; press into pan. Bake for 8-10 minutes, then cool.
- Beat cream cheese until smooth. Add sugar, then heavy cream, yogurt/sour cream, vanilla, and food coloring. Add eggs one at a time, then fold in chopped Oreos.
- Pour batter into crust. Place springform pan in a larger pan, then in a roasting pan with hot water halfway up the cheesecake pan. Bake for 1 hour 35 minutes to 1 hour 50 minutes, or until the center is slightly jiggly and reaches 145ºF (63ºC).
- Turn off oven and let cheesecake cool inside with the door ajar for 1 hour. Cool on a wire rack for 2 hours. Refrigerate for at least 6 hours, or overnight.
- Remove from pan, decorate with whipped cream ghosts and candy eyes, and serve.
Notes
For a smoother batter, ensure all ingredients are at room temperature before mixing. Don’t overmix the batter to prevent cracks. Using a water bath helps ensure a moist and evenly cooked cheesecake. Let the cheesecake cool gradually to avoid cracking. For a richer flavor, use full-fat cream cheese and heavy cream.
- Prep Time: 30 mins
- Cook Time: 1 hour 35 minutes to 1 hour 50 minutes
- Category: Desserts
- Method: Baking
- Cuisine: American
What You’ll Need
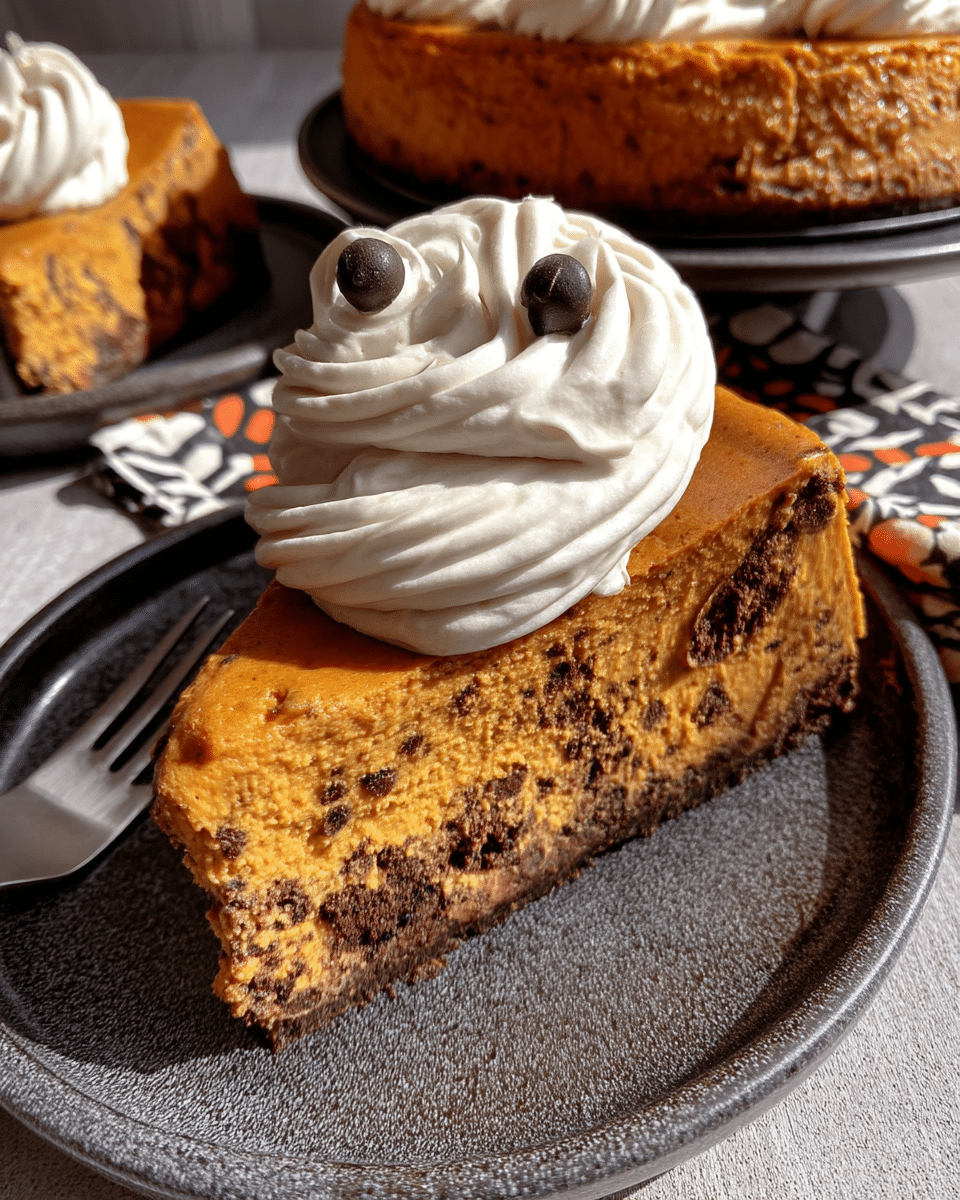
Here’s everything you’ll need to create this hauntingly delicious cheesecake. Don’t be intimidated by the list—it’s all straightforward, and the result is well worth it!
For the Oreo Crust:
- 20 Oreos (I used Halloween Oreos, but regular Oreos work great too!)
- ¼ cup (57g) unsalted butter, melted
For the Cookies & Cream Cheesecake:
- 32 ounces (900g) full-fat block cream cheese, softened to room temperature
- 1 cup (200g) granulated sugar
- ¼ cup (60mL) heavy whipping cream, at room temperature
- 5 ounces (153g) Greek yogurt or sour cream, at room temperature
- 1 Tablespoon vanilla extract
- Orange food coloring (gel coloring recommended)
- 4 large eggs, at room temperature
- 2 large egg yolks, at room temperature
- 14 Oreos, chopped
For the Whipped Cream Ghosts:
- 1 cup homemade whipped cream
- Candy eyes
Step-by-Step Instructions
Step 1: Prepare the Oreo Crust
Preheat your oven to 325ºF (162ºC). Lightly grease a 9″ springform pan with nonstick spray. Crush the Oreos into fine crumbs using a food processor. Combine the crumbs with melted butter and press into the bottom of the prepared pan. Bake for 8-10 minutes, or until set. Let it cool while you prepare the filling.
Step 2: Make the Cheesecake Filling
In a large bowl, beat the softened cream cheese with an electric mixer until smooth. Gradually add the sugar and beat until well combined. Reduce the mixer speed to low and add the heavy cream, yogurt or sour cream, vanilla extract, and orange food coloring. Mix until everything is combined. Add the eggs one at a time, mixing gently after each addition. Fold in the chopped Oreos until just combined.
Step 3: Bake the Cheesecake
Pour the batter into the cooled crust. Place the springform pan in a larger round pan, then place that pan in an even larger roasting pan. Fill the outer pan with hot water halfway up the sides of the cheesecake pan (this creates a water bath). Bake for 1 hour 35 minutes to 1 hour 50 minutes, or until the center is just slightly jiggly and the internal temperature reaches 145ºF (63ºC).
Step 4: Cool and Chill
Turn off the oven and let the cheesecake cool inside with the door slightly ajar for 1 hour. Remove from the water bath and cool on a wire rack for another 2 hours. Once completely cool, cover and refrigerate for at least 6 hours, or preferably overnight.
Step 5: Decorate and Serve
Remove the chilled cheesecake from the refrigerator and gently release the sides of the springform pan. Decorate the top with whipped cream ghosts and candy eyes. Serve and enjoy!
Better-Than-Grandma Tips
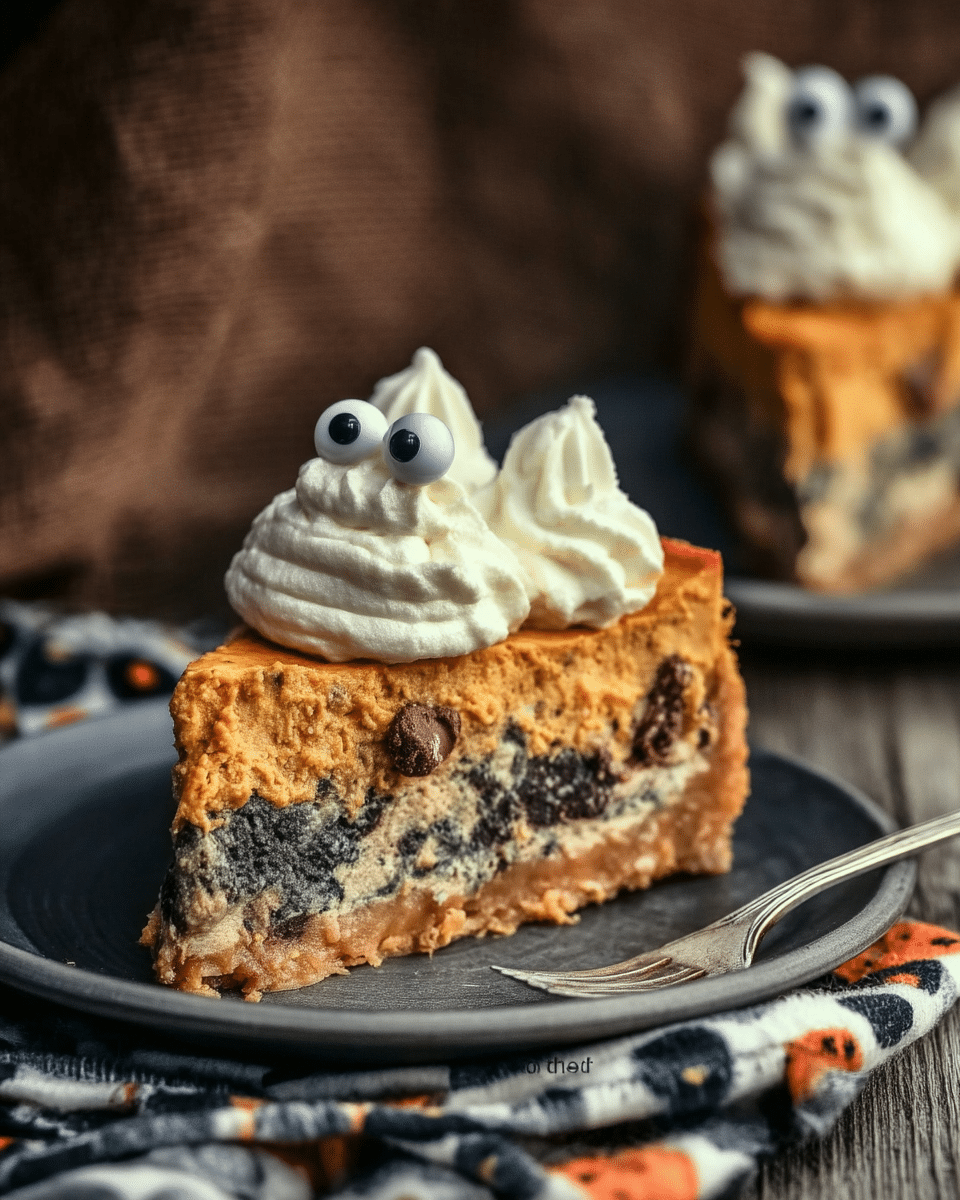
Here are a few tips to help you achieve cheesecake perfection:
- Room Temperature Ingredients: Make sure your cream cheese, eggs, and other ingredients are at room temperature for a smooth and creamy batter.
- Don’t Overmix: Overmixing the batter can incorporate too much air, leading to cracks in the cheesecake. Mix until just combined.
- Water Bath: A water bath helps create a moist and evenly cooked cheesecake. Check out this article on water baths for a detailed guide.
- Cooling: Allow the cheesecake to cool gradually in the oven to prevent sudden temperature changes that can cause cracks.
Try These Variations
Want to personalize your Halloween Cheesecake? Here are some fun variations to try:
- Chocolate Lover’s Dream: Add ½ cup of melted dark chocolate to the batter.
- Pumpkin Spice Twist: Stir in 1 teaspoon of pumpkin pie spice and ½ cup of pumpkin puree.
- Minty Fresh: Use Mint Oreos for the crust and filling, and tint the batter green.
For more festive treats, explore our Halloween Recipe Collection.
How long does Halloween Cheesecake last?
This cheesecake is best enjoyed within 5 days when stored in an airtight container in the refrigerator.
Can I freeze this cheesecake?
Yes, this cheesecake freezes beautifully! Wrap tightly in plastic wrap and foil, then freeze for up to 3 months. Thaw overnight in the refrigerator before serving.
How much orange food coloring should I use?
For a less intense orange hue, start with just a few drops of orange gel food coloring and gradually add more until you reach your desired color. You can even leave it out altogether for a classic cookies and cream cheesecake.
Can I use regular Oreos instead of Halloween Oreos?
Halloween Oreos add a festive touch, but regular Oreos work just as well. You can even try other Oreo flavors like Golden Oreos or Mint Oreos for a unique twist.
How to Serve
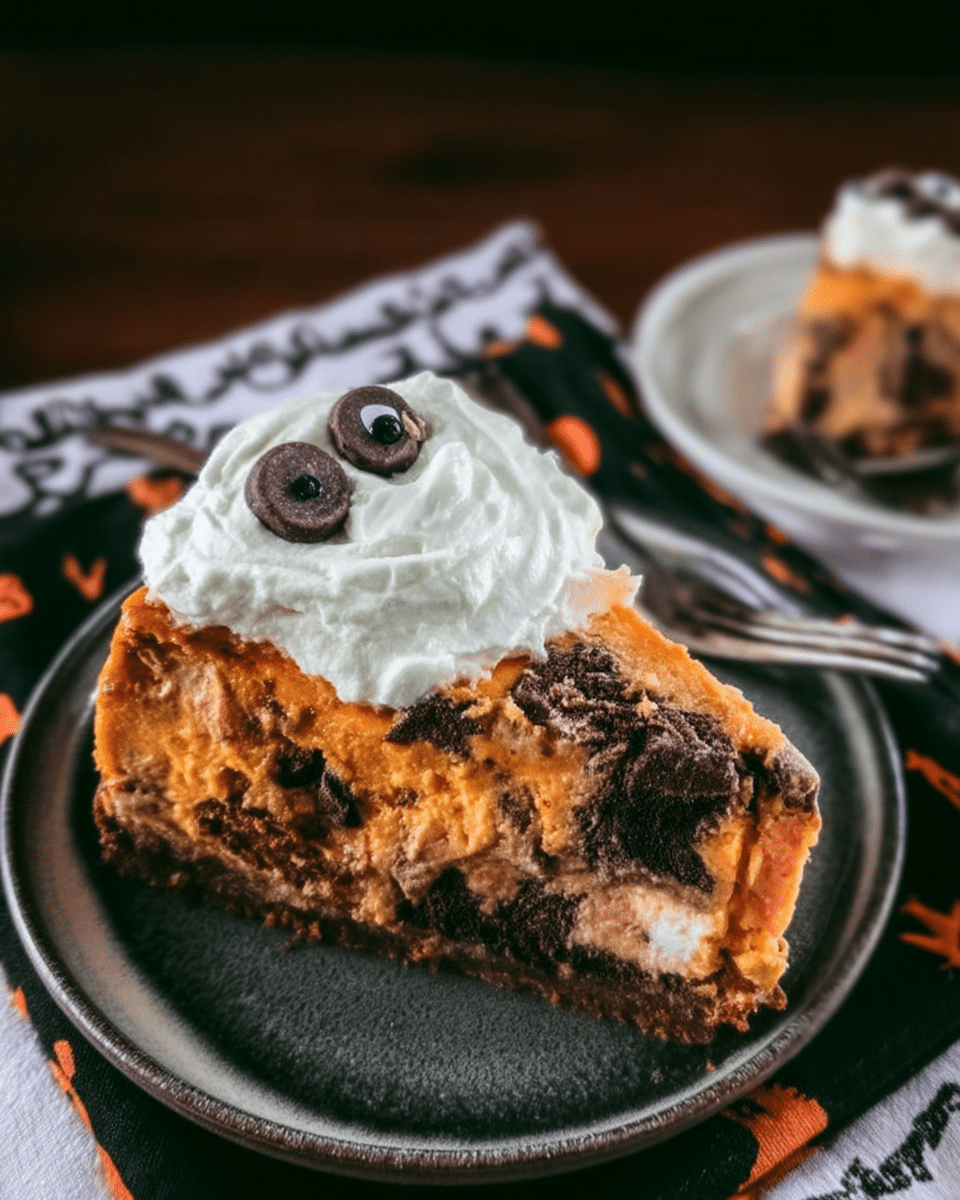
This Halloween Cheesecake is delicious on its own, but you can elevate the experience with a few simple pairings:
- A scoop of vanilla ice cream
- A drizzle of chocolate sauce
- A sprinkle of Halloween sprinkles
- A dollop of whipped cream
- A warm cup of coffee or hot chocolate
For a spooky twist, serve it with a side of our Ghostly Pudding Cups.
That’s a Wrap
This Halloween Cheesecake is a real showstopper, perfect for your spooky celebrations or any time you crave a cookies and cream dream. It’s rich, creamy, and oh-so-delicious. The adorable ghost topping adds a touch of whimsy, making it a fun treat for all ages. I hope this recipe brings a smile to your face and a happy haunt to your kitchen this Halloween!
Looking for more dessert inspiration? Check out our Desserts category. Share your Halloween creations with me on Facebook or Instagram!

