When the leaves change and a spooky chill fills the air, there’s nothing quite like a festive breakfast to get the whole family in the Halloween spirit. My kids absolutely love when I make this Mummy Toast – it’s become a beloved tradition in our house. And I love it because it’s healthy, easy, and always brings a smile to their little faces.
This Mummy Toast recipe is not only adorable, but it’s also a breeze to make, even on busy mornings. With just a few simple ingredients and some creative arranging, you can create a spooky and nutritious breakfast treat that’s sure to be a hit with kids and grown-ups alike! Let’s get started!
Why You’ll Love It
This Mummy Toast recipe is much more than just a cute breakfast; it’s a combination of simple goodness and spooky fun! Here’s why it’s a winner:
- Kid-Friendly Fun: Kids adore the playful mummy theme, making breakfast time an exciting adventure. It’s a great way to get them involved in the kitchen and spark their creativity.
- Quick & Easy: With just a handful of ingredients and minimal prep time, this recipe is perfect for busy mornings or when you need a quick and healthy snack.
- Healthy & Nutritious: Whole-grain bread, fruit, and a protein-packed spread offer a nutritious start to the day. It’s a treat that’s both delicious and good for you.
- Versatile & Adaptable: The recipe is easily customizable to your family’s preferences. Use different spreads, fruits, or toppings to create your own unique Mummy Toast creations.
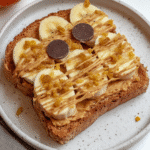
Mummy Toast
- Total Time: 10 mins
- Yield: 2 servings
Description
Delight your family with spooky Mummy Toast, a fun and healthy Halloween breakfast. Whole-grain bread topped with cream cheese or peanut butter, banana “bandages,” and raisin “eyes” makes for a quick and nutritious meal. Easily customizable with different spreads and toppings.
Ingredients
- Whole-Grain Bread (2 slices)
- Cream Cheese or Peanut Butter (2 tablespoons)
- Banana (1 ripe, thinly sliced)
- Raisins or Dried Blueberries (small handful)
Instructions
- Toast the bread to your desired level of golden-brown.
- Spread each slice with cream cheese or peanut butter.
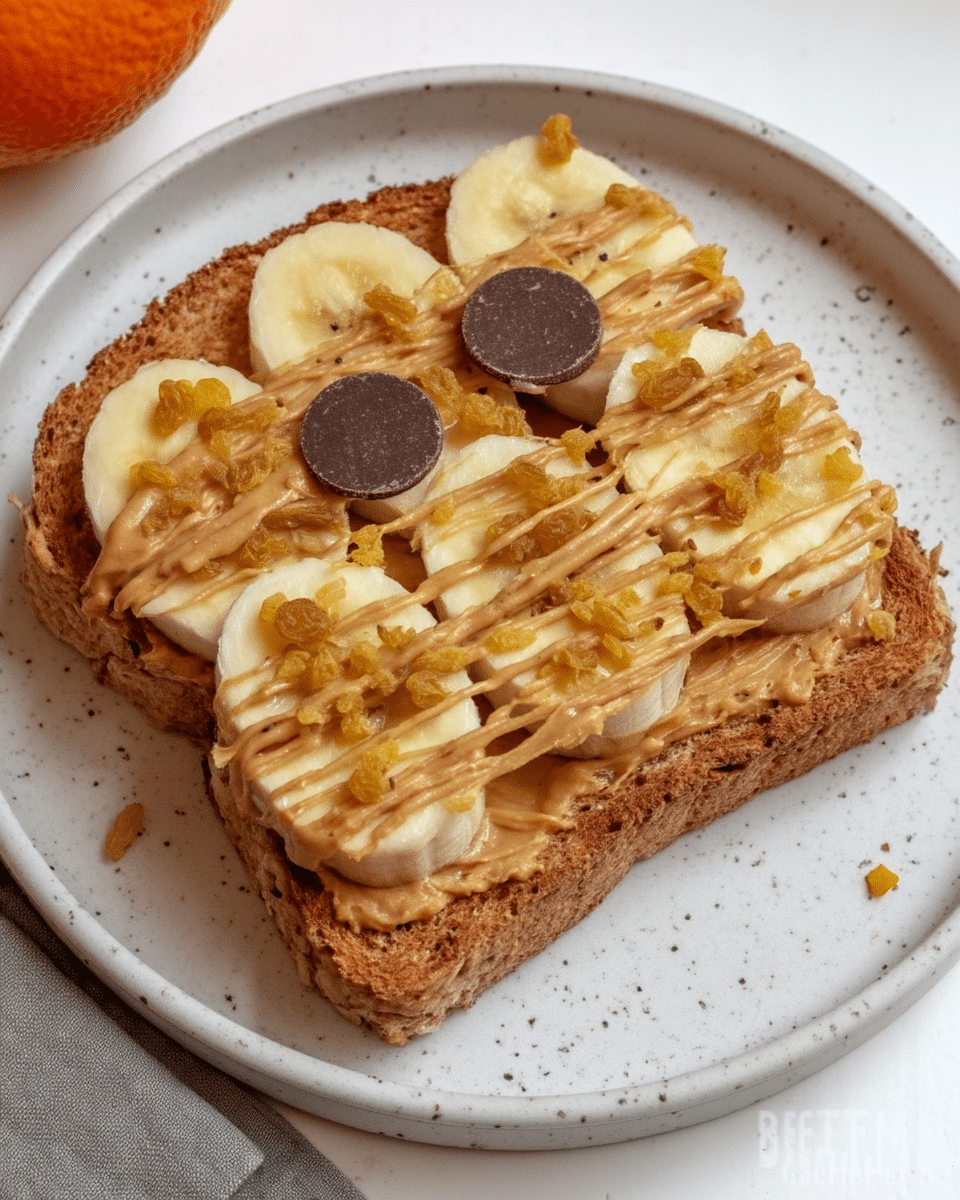
- Arrange banana slices on top, overlapping slightly to resemble bandages.
- Place two raisins or dried blueberries on each slice for eyes.
- Serve immediately and enjoy!
Notes
For a nut-free version, use sunflower seed butter. Slightly overripe bananas are easier to slice. Use cookie cutters to make fun shapes out of the toast before adding toppings. To make it extra spooky, use pretzel sticks for the arms.
- Prep Time: 5 mins
- Cook Time: 5 mins
- Category: Breakfast
- Method: Toast
- Cuisine: American
What You’ll Need
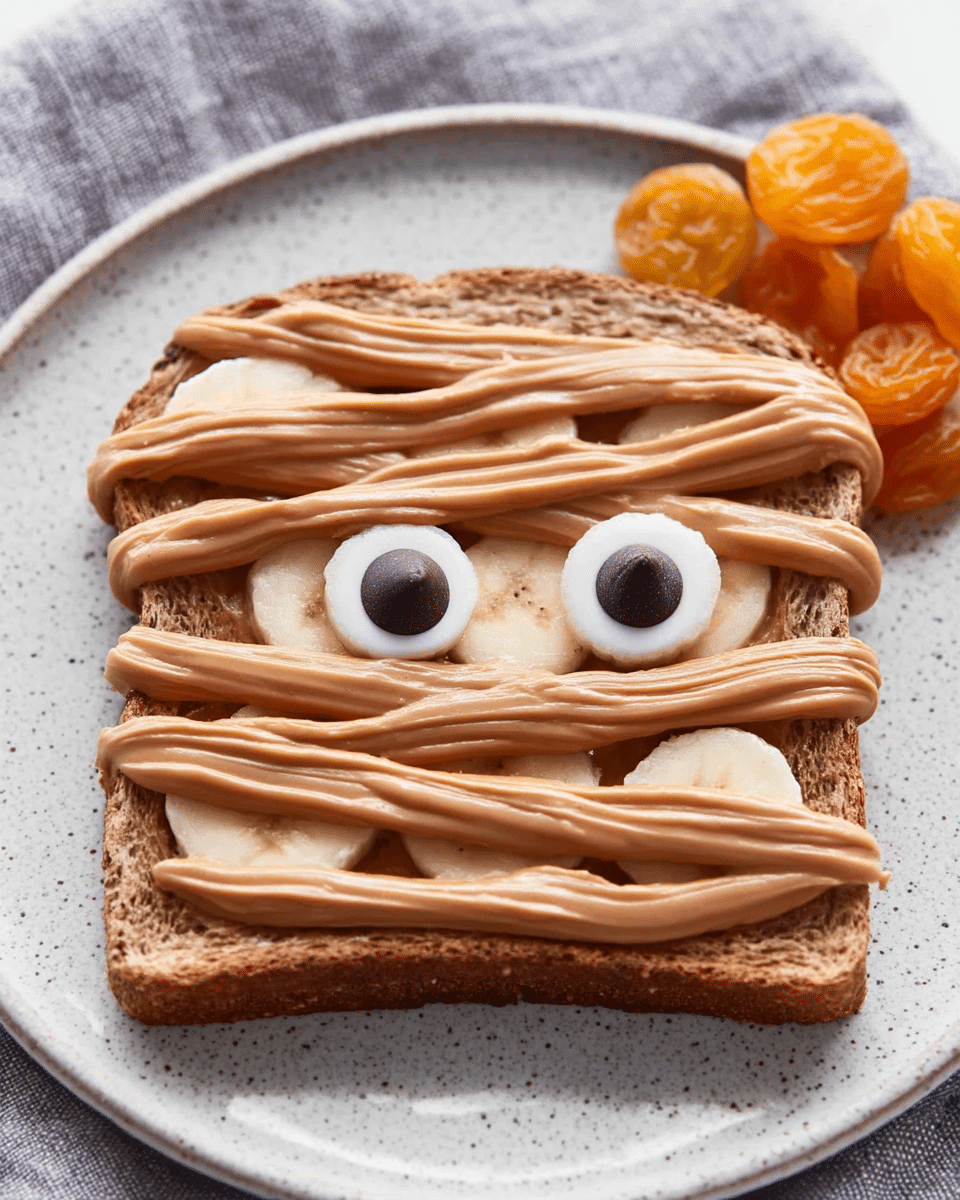
Here’s the simple lineup for our spooky Mummy Toast. You probably already have most of these items in your kitchen, making it a quick and easy breakfast or snack!
- Whole-Grain Bread: Opt for a hearty whole-grain bread for added nutrients and a satisfying texture. Two slices are all you need per serving. Feel free to use your favorite type of bread — whatever your family enjoys most!
- Cream Cheese (or Peanut Butter): Two tablespoons of creamy, spreadable cream cheese is the classic choice, but peanut butter works wonderfully too! This acts as the “glue” for our banana bandages.
- Banana: One ripe banana, thinly sliced, is the star of the show. These slices transform into the mummy’s bandages, creating that fun, spooky look.
- Raisins or Dried Blueberries: A small handful of raisins or dried blueberries are the perfect finishing touch. These become the mummy’s eyes, bringing the whole creation to life.
Step-by-Step Instructions
Follow these easy steps to create your own adorable Mummy Toast:
Step 1: Toast the Bread
Begin by toasting your slices of whole-grain bread to your desired level of golden-brown perfection. You can use a toaster or toast the bread under a broiler if you prefer.
Step 2: Spread the Base
Once the toast is ready, evenly spread each slice with either cream cheese or peanut butter. This will act as the adhesive for our banana bandages and add a creamy, delicious layer of flavor.
Step 3: Create the Bandages
Now for the fun part! Arrange the thinly sliced banana pieces on top of the spread, overlapping them slightly to resemble mummy bandages. Be creative with your placement and have fun with the design!
Step 4: Add the Eyes
Place two raisins or dried blueberries on each slice of toast to create the mummy’s eyes. You can also use other small, edible items like mini chocolate chips or dried cranberries for a different look.
Step 5: Serve and Enjoy
Your Mummy Toast is ready to be devoured! Serve it immediately for the best flavor and texture.
Better-Than-Grandma Tips
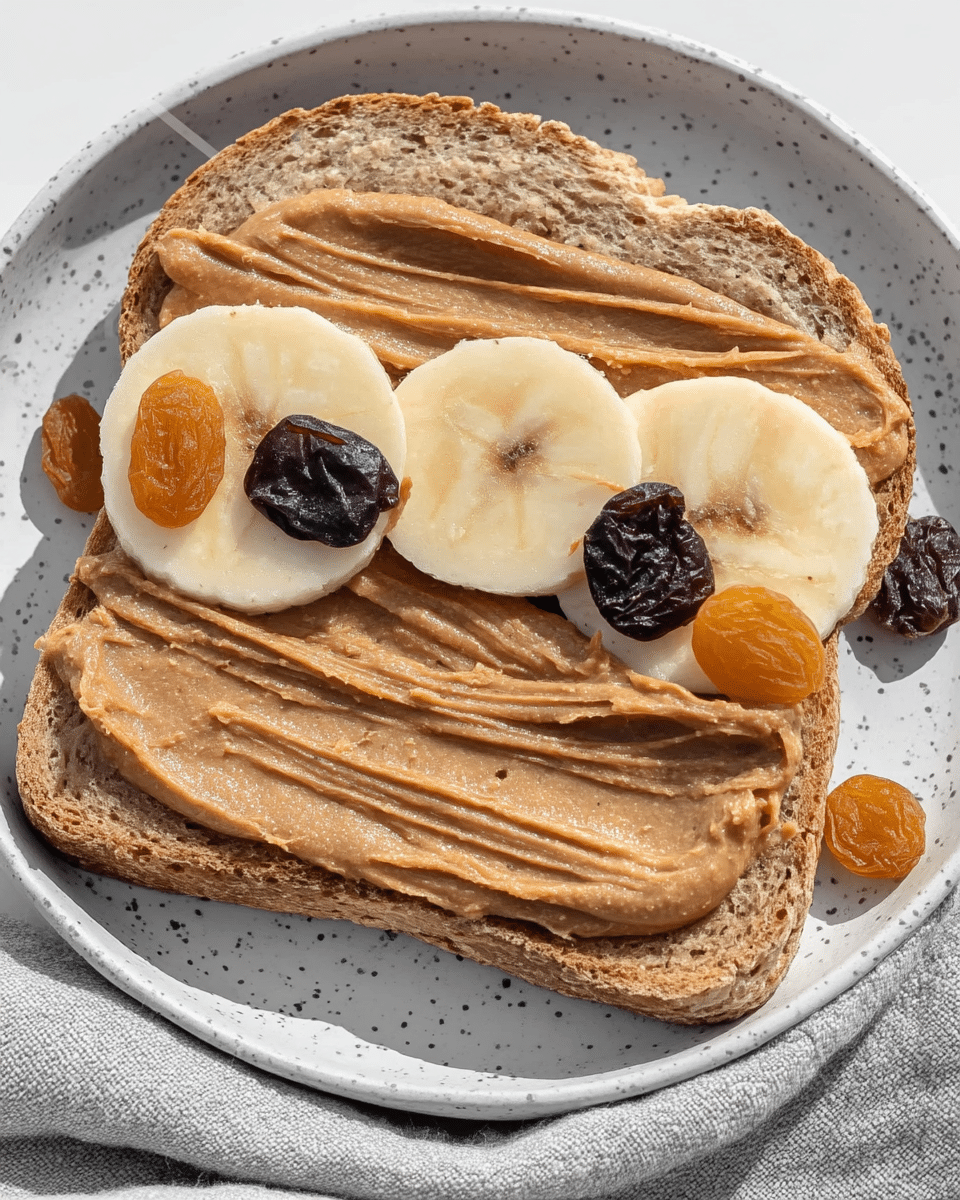
Here are a few helpful hints to ensure your Mummy Toast is a screaming success:
- Toast Mastery: Toast the bread to your preferred level of crispness. Slightly softer toast makes it easier for little hands to manage, while a good crunch adds extra texture.
- Spread It Smooth: For the best “bandage” adhesion, make sure to spread the cream cheese or peanut butter evenly across the toast. A smooth base helps the banana slices stay in place and prevents slippage.
- Banana Selection: Choose a ripe banana for easy slicing and optimal sweetness. Slightly overripe bananas are perfect for this recipe, especially if they have just a few brown spots. Try more fun breakfast ideas on our Breakfast page!
- Eye Options: While raisins and blueberries are classic choices for the mummy eyes, feel free to experiment! Mini chocolate chips, dried cranberries, or even small pieces of other fruits can add a unique twist.
Switch-Ups & Swaps
Ready to personalize your Mummy Toast? Here are some fun variations to try:
- Nutty Mummies: Substitute almond butter or cashew butter for the cream cheese or peanut butter to create a nutty twist. Sunbutter is also a great allergy-friendly option.
- Fruity Fun: Add other sliced fruits like strawberries or kiwi to the “bandages” for a colorful and flavorful variation. You can also swap the raisins for other dried fruits like cranberries or chopped apricots.
- Spooky Spices: Sprinkle a dash of cinnamon or pumpkin pie spice on top of the cream cheese for a festive fall flavor. Our Lunch page has plenty of ideas!
- Jammin’ Mummies: For a sweeter twist, swap the cream cheese for your favorite fruit jam or preserve. Strawberry, raspberry, or even apricot jam would be delicious additions.
- Chocolate Delight: Add a drizzle of melted dark chocolate or a sprinkle of chocolate shavings for a touch of decadence.
Is Mummy Toast a healthy breakfast option for kids?
Mummy Toast is a fun and healthy breakfast option that is easy to make with simple ingredients. Kids will love it because of the spooky design and the fun process of making it. It is also a great way to encourage healthy eating habits in a fun and engaging way.
When is the perfect time to serve Mummy Toast?
Mummy Toast is perfect for serving during Halloween. It is a kid-friendly recipe and can be made with ingredients that are usually available at home. Serve these spooky toasts for your Halloween party or breakfast and bring a smile to your little ones’ faces!
What ingredients do I need to make Mummy Toast?
To make Mummy Toast, you’ll need some whole-grain bread, cream cheese or peanut butter, a banana, and some raisins or dried blueberries.
What are some occasions I can make Mummy Toast for?
Mummy Toast is a fantastic option for breakfast, brunch, or even a fun after-school snack. It’s quick and easy to prepare, making it perfect for busy families.
How to Serve
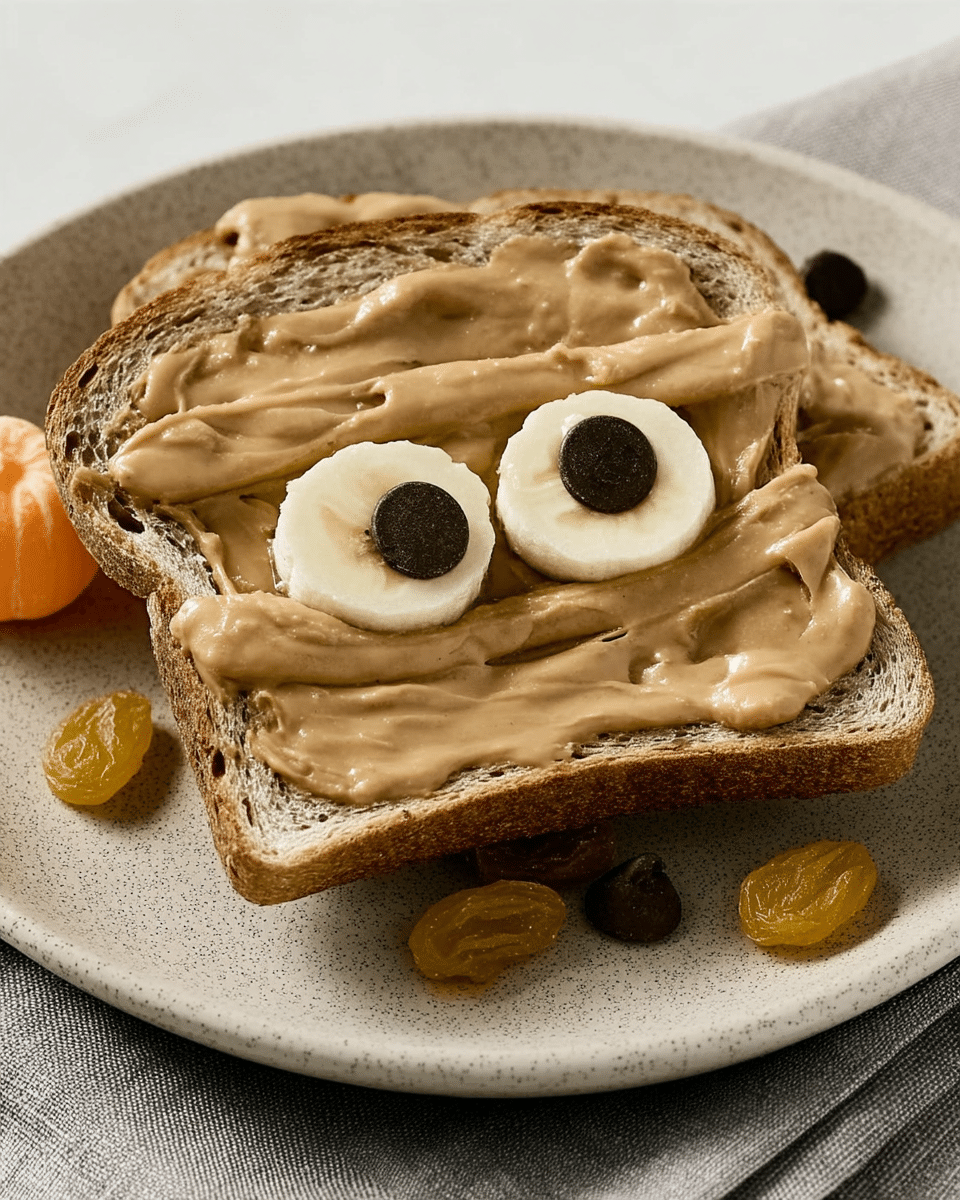
This Mummy Toast is delicious all on its own, but here are some ideas for making it an even more special treat:
- Breakfast of Champions: Pair the toast with a side of scrambled eggs, some fresh fruit, or a glass of milk for a complete and satisfying breakfast.
- Brunch Time Fun: Include Mummy Toast as part of a Halloween-themed brunch spread. Consider serving it with pumpkin pancakes and some spooky fruit skewers.
- After-School Snack: These little mummies are a perfect pick-me-up snack for after school. Serve them with a side of yogurt or a fruit smoothie for a healthy and energizing boost. Check out other breakfast ideas for more inspiration on our Desserts page!
- Party Pleaser: Mummy Toast is a fun addition to any Halloween party or gathering. Kids and adults alike will love these spooky and edible decorations.
That’s a Wrap
Making Mummy Toast has been a spooky good time, hasn’t it? These little mummies are perfect for Halloween or any time you crave a bit of playful fun in your breakfast. It’s a recipe that both kids and adults can enjoy making together, and it’s a surefire way to make mornings a little brighter. If you enjoyed this simple and healthy breakfast, I think you’ll absolutely adore our collection of other fun and kid-friendly breakfast recipes. For more inspiration, follow Amazing Korean Food on Pinterest, Instagram, and Facebook. Let’s stay connected and keep the culinary creativity flowing!
