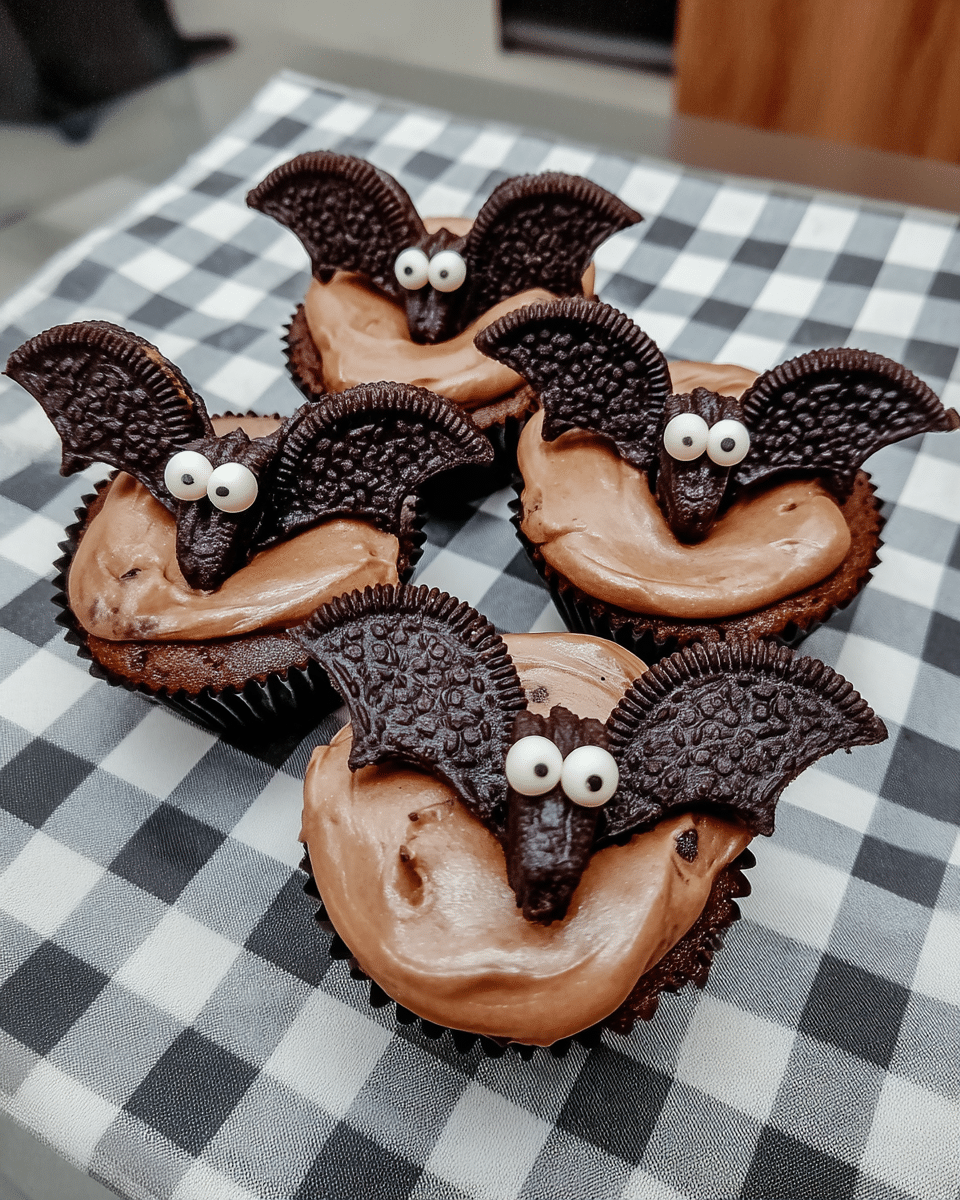
Halloween is just around the corner, and I’m already dreaming up spooky treats to share with my little monsters (aka my kids!). This year, I’m adding these adorable Oreo Bats to our Halloween menu, and I have a feeling they’ll be a huge hit.
These little bats are not only cute as a button, but they’re also incredibly easy to make. With just a few simple ingredients and a little bit of creativity, you can have a whole colony of these spooky treats ready in minutes. Trust me, this is one Halloween recipe you’ll want to sink your teeth into!
Why You’ll Love It
These Oreo Bats are a perfect Halloween treat for several reasons:
- Easy Peasy: These delightful little bats are incredibly easy to make, even for novice bakers. No baking required!
- Kid-Friendly: They’re a fun and engaging activity for kids to help with, especially the decorating part.
- Festive & Fun: These spooky snacks add a touch of whimsy to any Halloween celebration.
- Versatile: You can customize them with different colored candy melts and sprinkles to match any occasion.
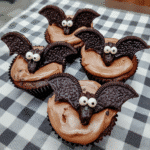
Oreo Bats
Ingredients
What You’ll Need
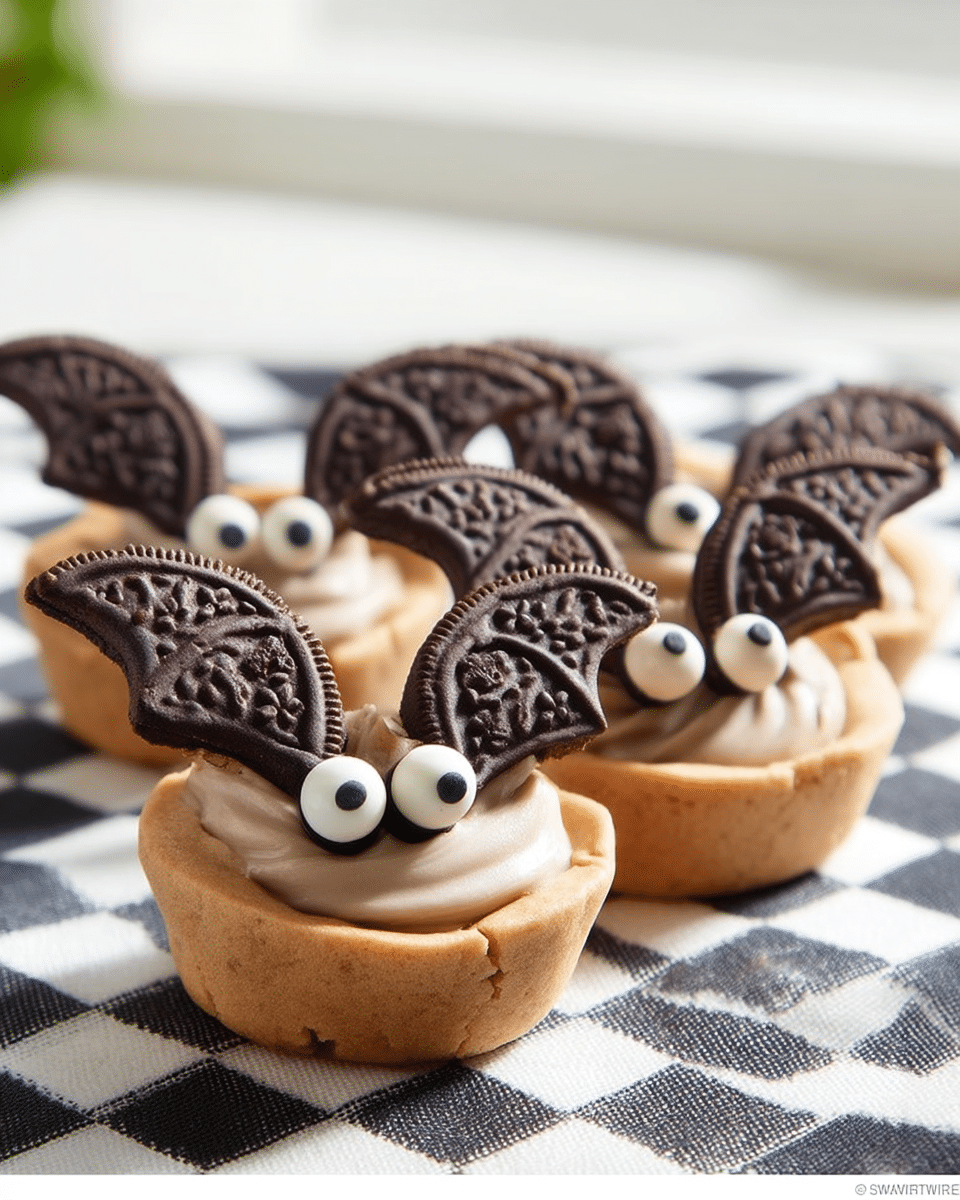
Let’s gather our spooky supplies! These adorable Oreo Bats require just a few simple ingredients. Don’t worry; you probably already have most of these in your pantry. Here’s what you’ll need:
- Oreo Cookies: Classic Oreos work best, but you can try other sandwich cookies too!
- Reese’s Mini Peanut Butter Cups: These form the bat bodies—so cute!
- Candy Monster Eyes: You can find these in the baking aisle during Halloween.
- Chocolate Chips: Semi-sweet or milk chocolate will do the trick.
- Optional: A microwave-safe bowl and a butter knife or toothpick for easy assembly.
Step-by-Step Instructions
Step 1: Prep Your Ingredients
Gather all your ingredients: Oreo cookies, Reese’s Mini Peanut Butter Cups, candy eyes, and chocolate chips. Unwrap the mini peanut butter cups and set them aside.
Step 2: Separate the Oreos
Carefully separate the Oreo cookies and remove the filling. You can discard the filling or save it for another recipe.
Step 3: Break the Oreo Halves
Break each Oreo cookie layer in half to create the bat wings.
Step 4: Melt the Chocolate
Place the chocolate chips in a microwave-safe bowl and microwave in short bursts, stirring after each burst, until smooth and melted.
Step 5: Assemble the Bats
Use a butter knife or toothpick to spread a small amount of melted chocolate on one end of each Oreo half. Attach the Oreo halves to the top of a peanut butter cup at an angle, creating the bat wings. Repeat on the other side.
Step 6: Add the Eyes
Place two candy eyes onto the melted chocolate on the top of the peanut butter cup, between the Oreo wings.
Step 7: Chill (Optional)
If you’re making these ahead of time, place them in the refrigerator for a few minutes to allow the chocolate to set completely.
Better-Than-Grandma Tips
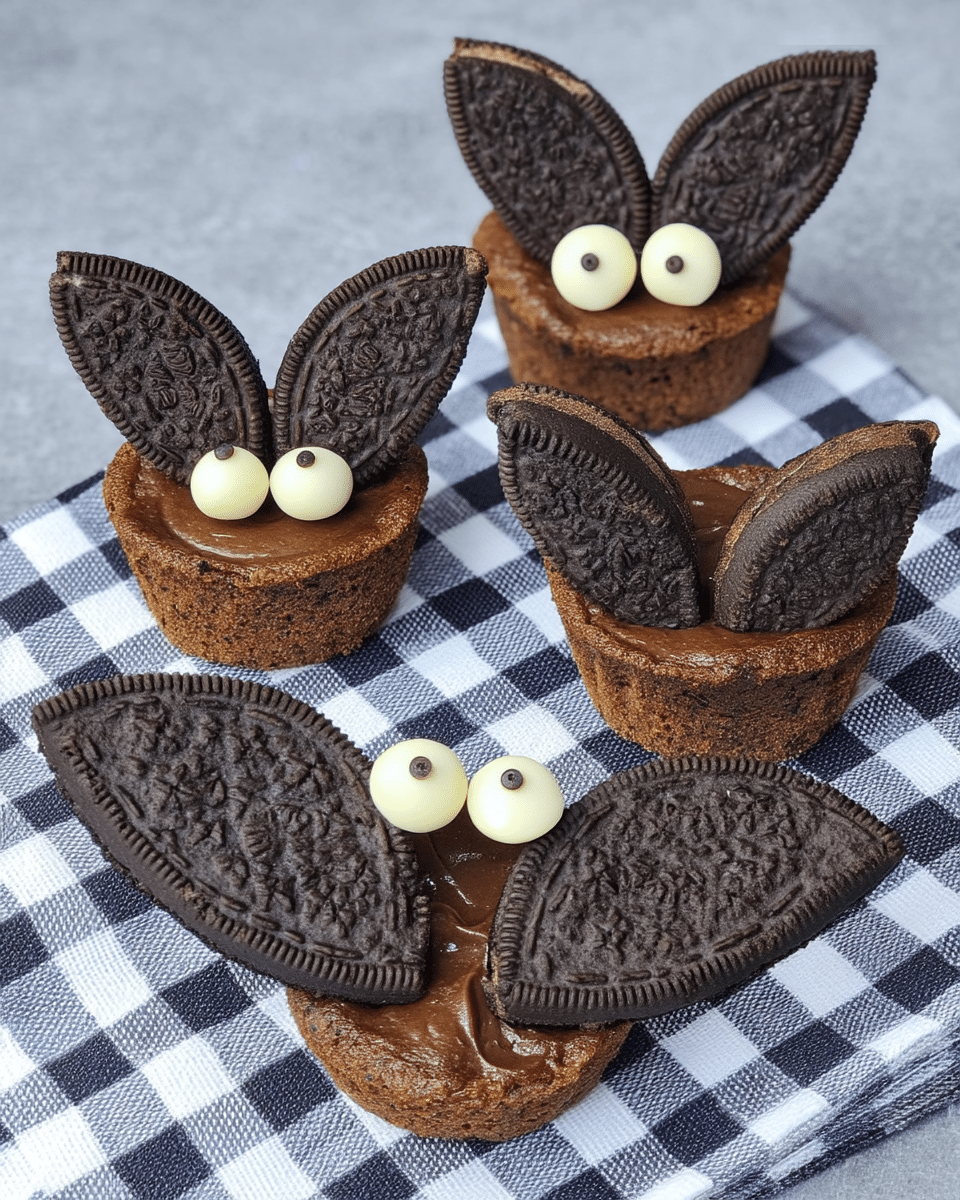
Here are a few tips from my test kitchen to help you make the best Oreo Bats:
- Microwave Magic: Melt the chocolate chips in short bursts (15-20 seconds) to prevent burning. Stir after each burst until smooth.
- Winging It: Use a butter knife or toothpick to spread the melted chocolate on the Oreo halves for easy wing attachment. Check out our tips on melting chocolate for more helpful advice.
- Eye Spy: Gently press the candy eyes onto the melted chocolate while it’s still wet so they stick securely.
- Chill Out: If you’re making these ahead of time, store them in an airtight container in the refrigerator to keep the chocolate firm.
Try These Variations
Want to switch things up? Here are some fun variations to try:
- Minty Fresh: Use mint-flavored Oreos and green candy melts for a minty twist. For more minty treats see our Lunch section.
- White Chocolate Wonders: Use white chocolate chips and red candy eyes for a ghostly look.
- Colorful Creations: Try using different colored candy melts and sprinkles to match any holiday or occasion.
- Nutty Bats: Spread a thin layer of peanut butter or Nutella on the Oreo halves before attaching them to the peanut butter cups for extra flavor.
Can I use different cookies besides Oreos?
You can use any type of sandwich cookie for this recipe. Vanilla wafers, chocolate wafers, or even those colorful circus animal cookies would work! Just be sure to adjust the color of the candy eyes and chocolate to match your cookie choice.
Can I use a different type of chocolate?
Absolutely! White chocolate chips or butterscotch chips would be delicious. You could even use melted candy melts for a more vibrant color.
How long do these Oreo Bats last?
These little bats are best enjoyed within a day or two of making them. The cookies can start to soften after that. Store them in an airtight container at room temperature.
What can I use instead of candy eyes?
Instead of candy eyes, you could use mini M&Ms or even draw eyes on with edible markers. Get creative and have fun with it!
How to Serve
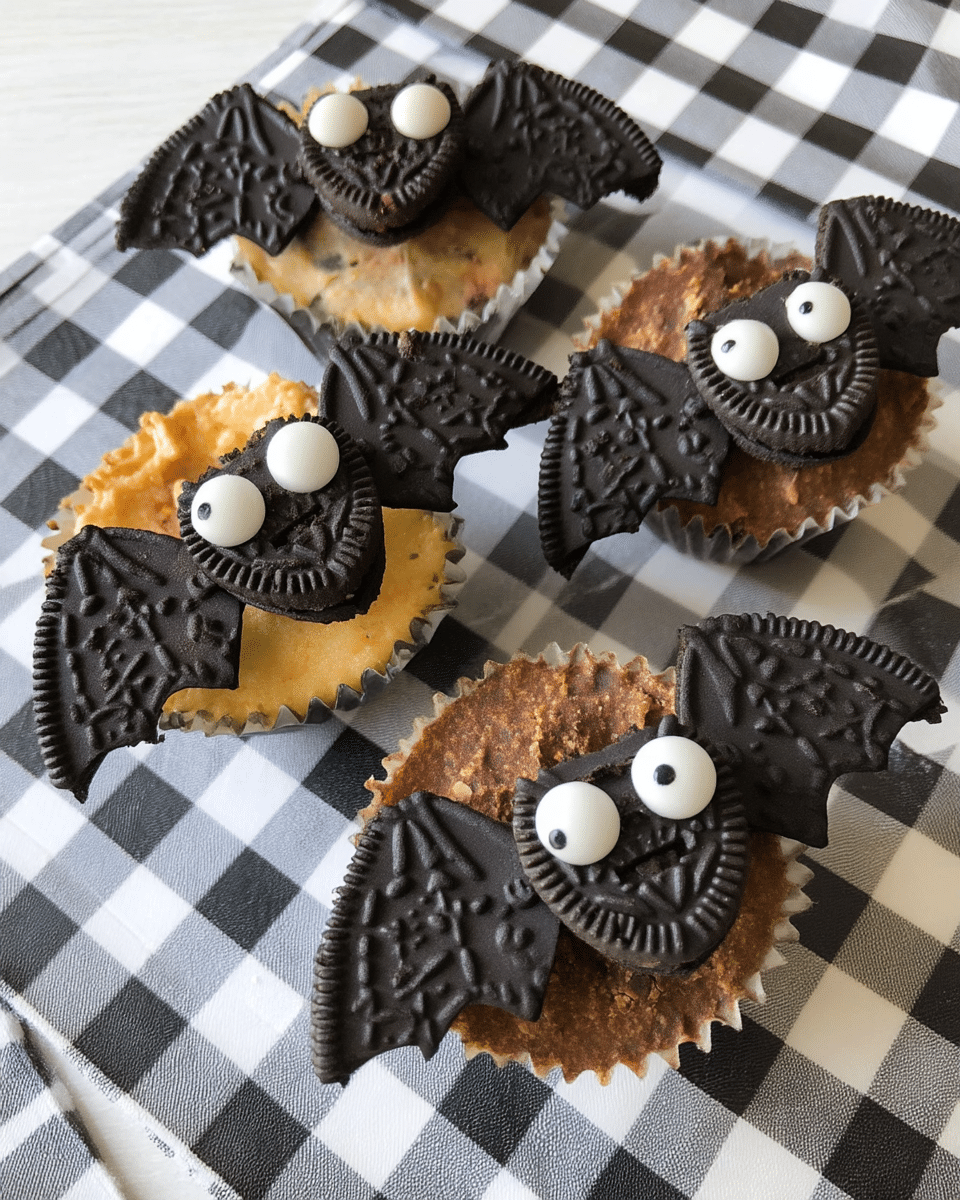
These Oreo Bats are perfect for all sorts of Halloween gatherings! Here are a few ideas:
- Party Animals: Arrange them on a platter with other Halloween treats like candy corn, gummy worms, and spooky pretzels for a festive spread. For more Halloween treats try our spooky pumpkin spice cookies.
- Classroom Treats: Package them individually in small cellophane bags for a fun and easy classroom treat.
- After-School Snack: Surprise your little ones with a plate of these adorable bats after school.
- Spooky Movie Night: These make the perfect accompaniment to a scary movie marathon.
That’s a Wrap
These Oreo Bats are a real hoot, aren’t they? They’re so easy to whip up, and the kids will go batty for them (pun intended!). They’re perfect for Halloween parties, classroom treats, or even just a fun after-school snack. If you make these spooky treats, be sure to share your creations on social media and tag me! I love seeing your culinary adventures. Don’t forget to check out our Desserts page for more sweet inspiration!
