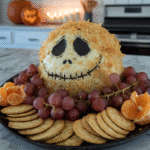
This Skellington Cheese Ball is the life (or afterlife?) of any Halloween party! It’s surprisingly simple to make, and the spooky presentation is a guaranteed crowd-pleaser. Last year, my kids helped me decorate it with black olives, and it was almost too cute to eat… *almost*. This year, we’re making a few so everyone can enjoy one.
This no-bake appetizer is perfect for busy folks because you can prepare it a day ahead. Just chill it until you’re ready to serve. It’s a delicious blend of cream cheese, cheddar, and a touch of spices, shaped into a skull and decorated with olive pieces for that iconic Jack Skellington grin. Get ready for some spooky snacking fun!
Why You’ll Love It
This Skellington Cheese Ball is more than just a tasty treat—it’s a conversation starter! Here’s what makes it so special:
- Spooky Fun: The Jack Skellington design adds a touch of whimsy and Halloween spirit to your spread.
- Easy to Make: No baking required! Simply mix, chill, and decorate. Perfect for busy Halloween hosts.
- Crowd-Pleasing Flavor: The creamy cheese base and savory spices are a hit with both kids and adults.
- Make-Ahead Magic: Prepare it a day in advance and save yourself time on the day of your party.
Skellington Cheese Ball
- Total Time: 1 hour 20 mins
- Yield: 8-10 servings
Description
This spooky and fun Skellington Cheese Ball is a perfect Halloween appetizer. The no-bake recipe is easy to make with cream cheese, cheddar, spices, and black olives for decoration. A guaranteed crowd-pleaser for both kids and adults!
Ingredients
- 2 cups cream cheese, softened
- 2 cups shredded white cheddar cheese
- 1 teaspoon garlic powder
- 1 teaspoon onion powder
- 1/2 teaspoon black pepper
- Black olives for decoration
Instructions
- Combine the softened cream cheese, shredded cheddar cheese, garlic powder, onion powder, and black pepper in a large bowl. Mix thoroughly.
- Shape the cheese mixture into a skull-like ball. Wrap tightly in plastic wrap and chill for at least 1 hour.
- Once chilled, unwrap the cheese ball and decorate with black olives to create Skellington’s eyes, nose, and grin.
- Serve on a platter with crackers, veggie sticks, or your favorite dippers.
Notes
Ensure the cream cheese is softened to room temperature for easy mixing. Using a block of cheddar and shredding it yourself will result in a creamier texture. If you don’t have black olives, you can use other dark-colored ingredients like chopped dates or raisins for the face. Serve with pretzel sticks, pita chips, or apple slices for a healthier option.
- Prep Time: 20 mins
- Cook Time: 0 mins
- Category: Appetizer
- Method: No-Bake
- Cuisine: American
Ingredient Lowdown
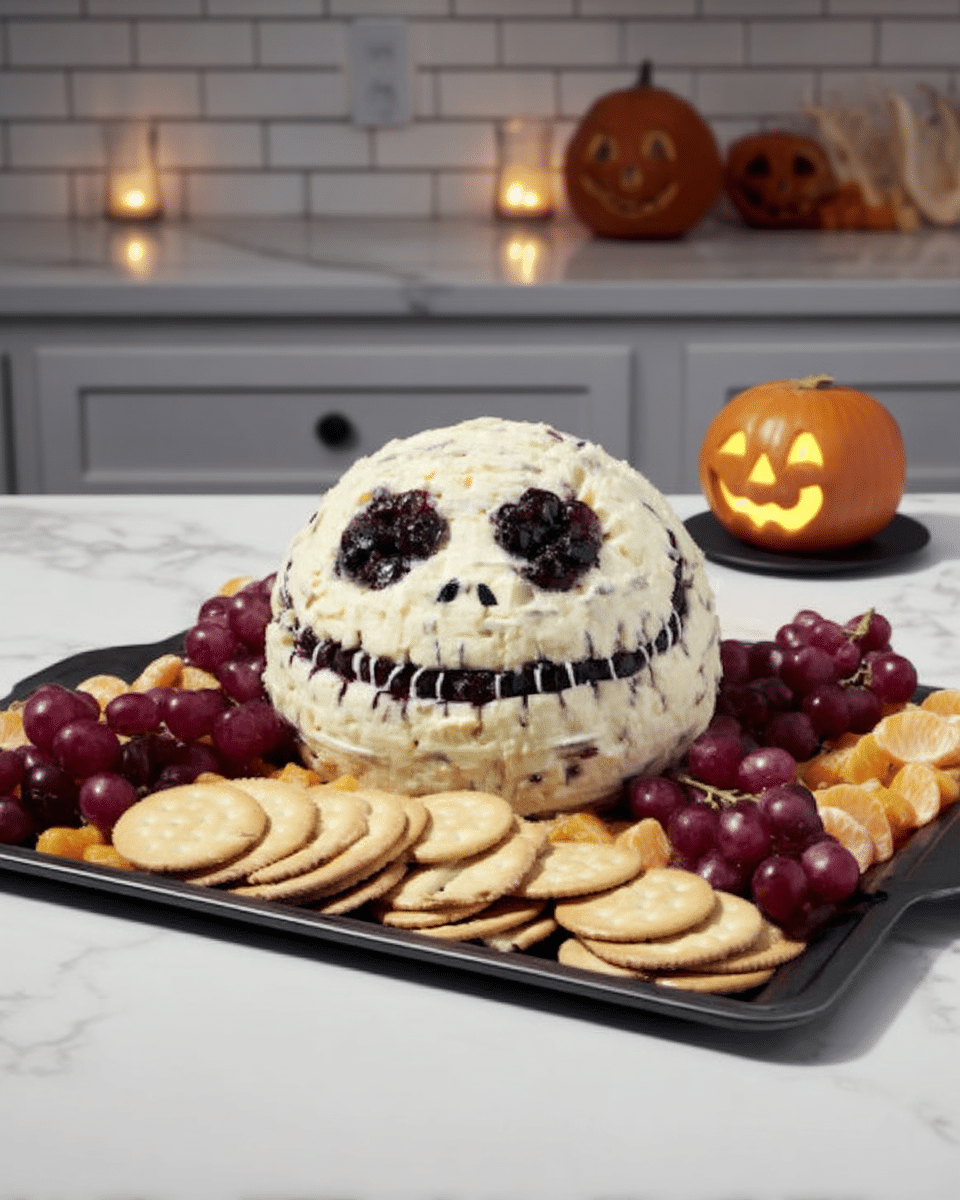
Here’s what you’ll need to create this spooky Skellington Cheese Ball:
- 2 cups cream cheese, softened
- 2 cups shredded white cheddar cheese
- 1 teaspoon garlic powder
- 1 teaspoon onion powder
- 1/2 teaspoon black pepper
- Black olives for decoration
Using high-quality ingredients truly makes a difference. Opt for fresh cream cheese and a good, sharp cheddar for the best flavor. The garlic and onion powder give the cheese ball a savory depth, while the black pepper adds a subtle kick. And, of course, those black olives are key for bringing Skellington to life!
Step-by-Step Instructions
Step 1: Combine the Cheeses and Spices
In a large mixing bowl, combine the softened cream cheese, shredded cheddar cheese, garlic powder, onion powder, and black pepper. Mix everything thoroughly until it’s well combined.
Step 2: Shape and Chill
Shape the cheese mixture into a ball, resembling a skull. Wrap it tightly in plastic wrap and chill in the refrigerator for at least 1 hour. This helps it firm up, making it easier to decorate.
Step 3: Decorate
Once chilled, carefully unwrap the cheese ball. Use black olives to create Skellington’s eyes, nose, and that signature stitched grin. Get creative and have fun with it!
Step 4: Serve
Place your finished Skellington Cheese Ball on a serving platter and surround it with crackers, veggie sticks, or whatever you like to dip. Get ready for the compliments!
Test-Kitchen Tips
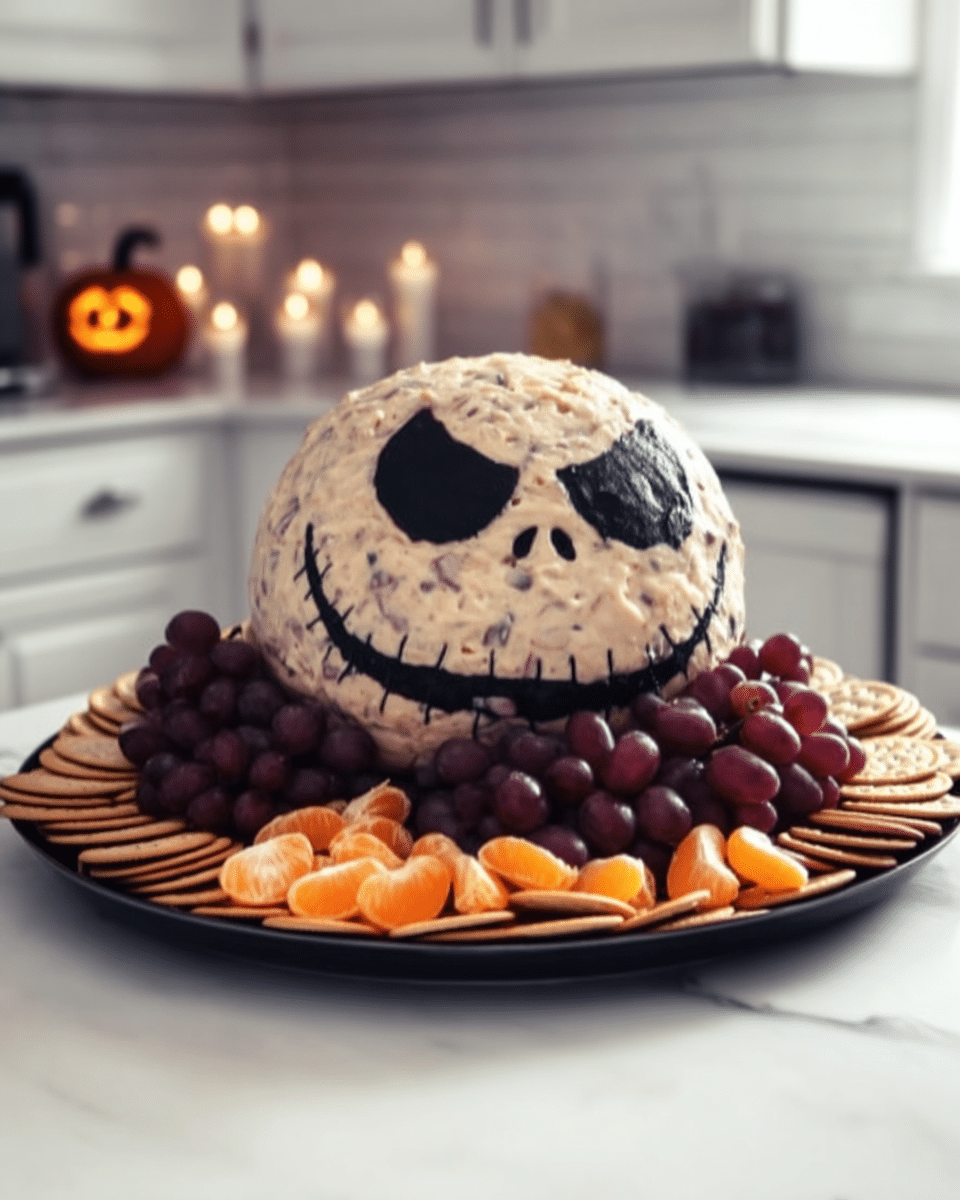
Here are a few tips to make your Skellington Cheese Ball even better:
- Soften the cream cheese thoroughly: This will make it easier to mix with the other ingredients and create a smooth, uniform texture. Check our tips on how to soften cream cheese quickly.
- Use a good quality cheddar: A sharper cheddar will give the cheese ball a richer flavor.
- Chill for longer if needed: If your cheese ball seems too soft after an hour, chill it for a bit longer. This is especially helpful in warmer climates.
- Get creative with the decorations: While black olives are traditional, feel free to use other ingredients to decorate. Pimiento-stuffed olives can add a pop of color.
Flavor Twists
Want to try something different? Here are a few ideas to customize your Skellington Cheese Ball:
- Spicy Skellington: Add a pinch of cayenne pepper or some chopped jalapeños to the cheese mixture for a spicy kick.
- Herby Skellington: Mix in some chopped fresh herbs like chives or dill for a fresh, herby flavor. Our herb guide has tons of ideas!
- Smoked Skellington: Use smoked cheddar cheese for a smoky twist. You can also add a dash of smoked paprika for extra smoky flavor.
- Bacon Skellington: Crumble some cooked bacon and mix it into the cheese ball for a salty, savory twist.
Can I make the Skellington Cheese Ball ahead of time?
Yes, absolutely! This cheese ball is perfect for making ahead of time. You can prepare it up to a day in advance. Just store it in the refrigerator, tightly wrapped in plastic wrap, until you’re ready to serve.
What can I serve with the Skellington Cheese Ball?
Crackers are the classic choice, but you can also serve it with veggie sticks (carrots, celery, bell peppers), pita chips, pretzel sticks, or even sliced baguette.
Can I freeze the Skellington Cheese Ball?
While it’s not recommended to freeze the fully decorated cheese ball, you can freeze the cheese mixture before shaping and decorating. Once thawed, simply shape, decorate, and chill as directed.
What if I don’t have black olives?
If you don’t have black olives, you can get creative with other ingredients! Try using small pieces of dried seaweed, roasted red peppers, or even tiny pretzel sticks to create the facial features. You can also simply serve the cheese ball without decorations – it will still be delicious!
How to Serve
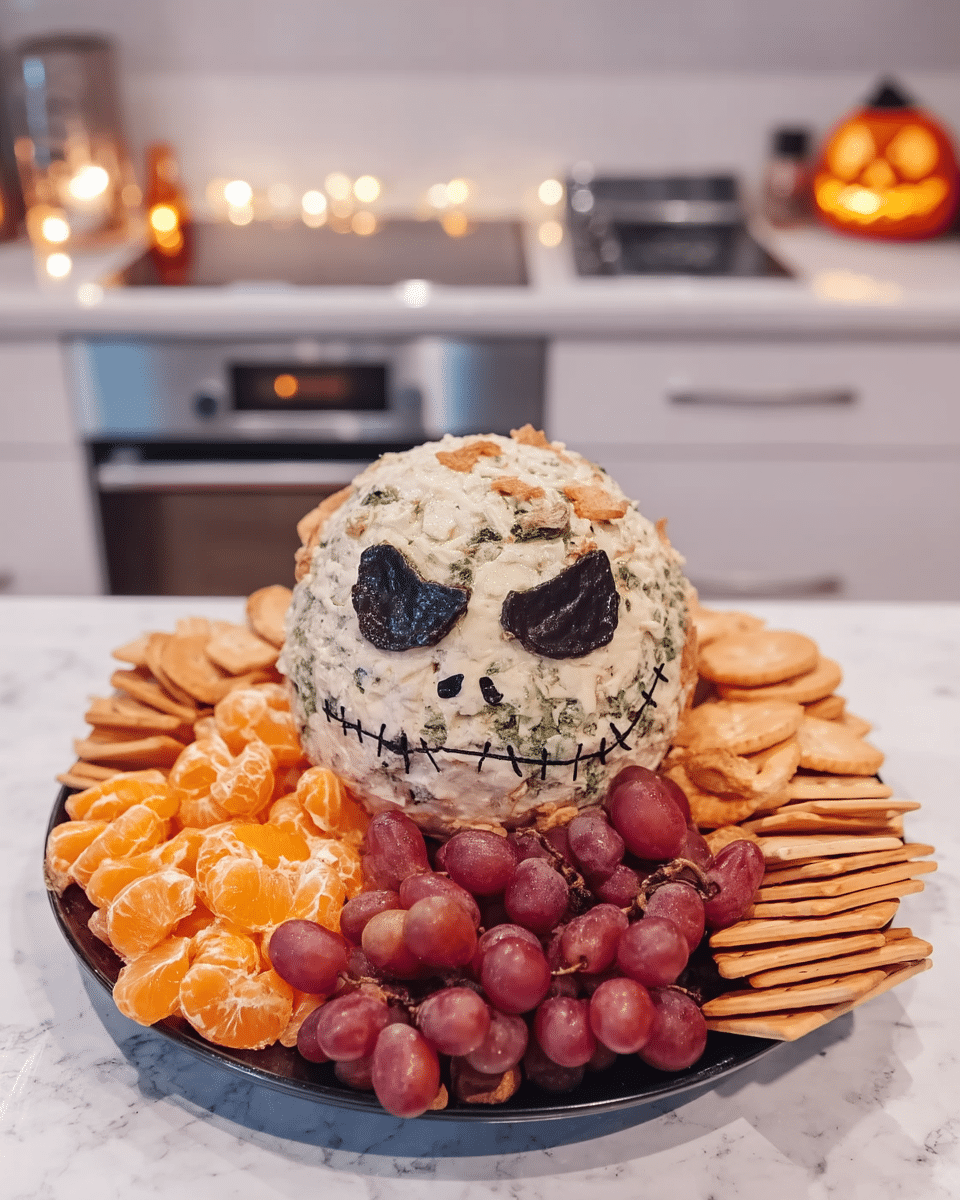
This Skellington Cheese Ball is a versatile appetizer that can be served in many ways. Here are a few ideas:
- Halloween Parties: This is the perfect centerpiece for your Halloween spread. Serve with a variety of crackers, chips, and veggies.
- Game Day Snack: Surprise your guests with this spooky snack during your next game night. Serve with tortilla chips.
- Potlucks and Gatherings: It’s a great dish to bring to any potluck or gathering. You can even serve it as a fun snack for the kids!
- Simple Weeknight Treat: Sometimes, you just need a fun and easy appetizer. Serve this with crackers and veggies for a quick and satisfying snack.
Final Thoughts
This Skellington Cheese Ball is more than just a recipe—it’s a fun and festive way to celebrate Halloween. The combination of delicious flavors and spooky presentation is sure to impress your guests. Check out some of our other delicious appetizers for even more tasty inspiration. Share your spooky creations with me on Facebook, Pinterest, or Instagram! Happy haunting!

