Halloween is just around the corner, and what better way to celebrate than with some spooky treats? These Spooky Mummy Brownies are the perfect combination of fun and deliciousness. My kids absolutely love them, and they’re so easy to make that even little monsters can help with the decorating!

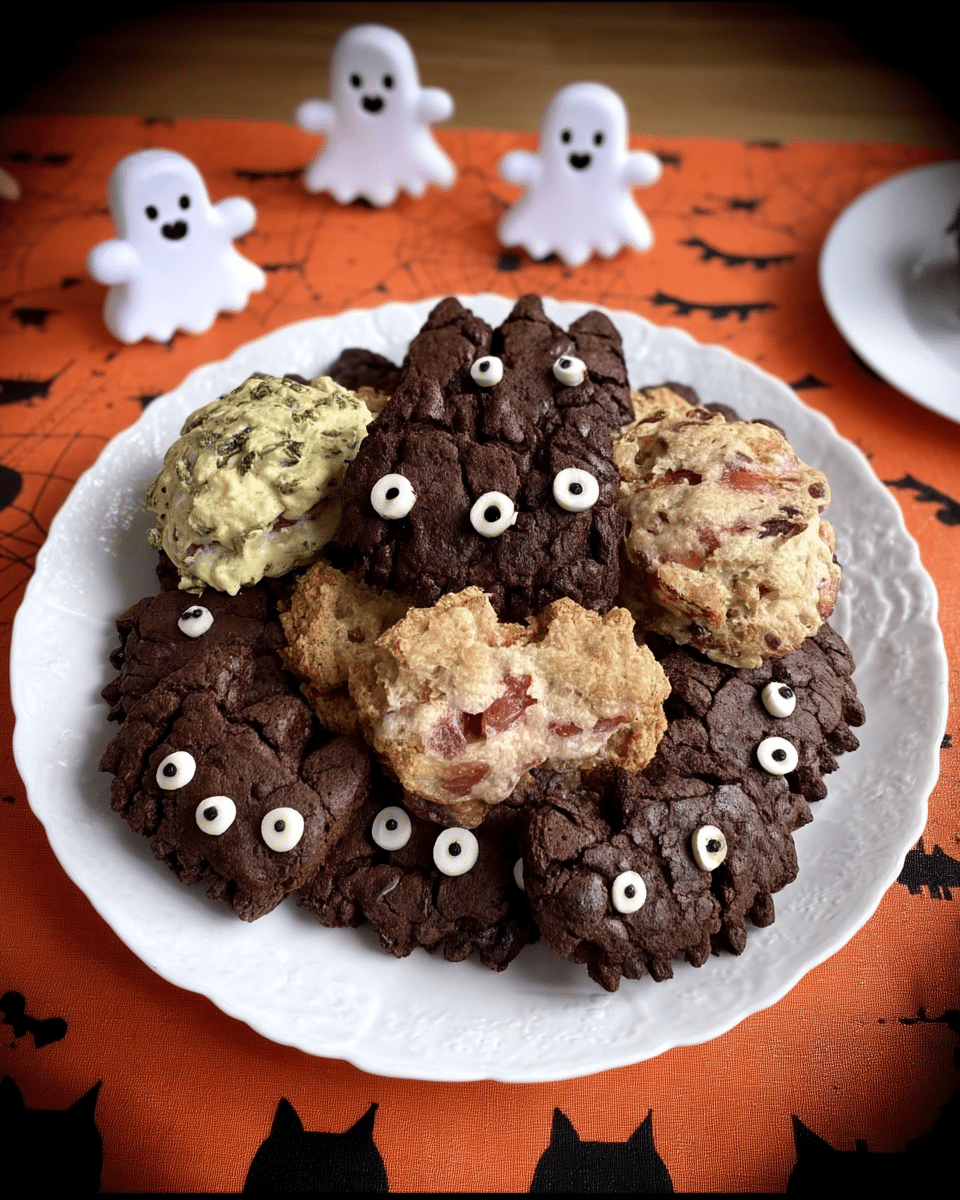
These brownies start with a simple boxed mix. No complicated recipes or fussy methods—just straightforward baking and a touch of ghostly creativity. They’re gooey, rich, and utterly delightful, draped in a zigzag of white chocolate “bandages” and adorned with candy eyes that seem to follow you around the room. These Spooky Mummy Brownies aren’t just treats; they’re a guaranteed hit for classroom parties or any spooky gathering.
Why You’ll Love It
These Spooky Mummy Brownies are more than just a delicious dessert; they’re a fun and engaging activity, especially for kids! They are:
- Easy to make: The recipe uses a boxed brownie mix, simplifying the process and making it achievable even for novice bakers.
- Fun to decorate: The decorating part is what makes these brownies so special. Kids and adults alike will enjoy creating the mummy bandages and adding the candy eyes.
- Festive and fun: They’re the perfect Halloween treat that brings the spooky spirit to life without being too scary.
- Deliciously rich and gooey: Who doesn’t love a good, rich brownie? These are soft and chewy on the inside and the white chocolate drizzle adds an extra layer of sweet deliciousness.

Spooky Mummy Brownies
- Total Time: 35-40 mins
- Yield: 16 brownies
Description
These Spooky Mummy Brownies are a fun and easy Halloween treat. Made with a boxed brownie mix and decorated with white chocolate “bandages” and candy eyes, they’re perfect for parties or a spooky family dessert.
Ingredients
- One box of your favorite brownie mix (plus the ingredients called for on the box – usually eggs, oil, and water)
- 1/2 cup white chocolate chips
- Candy eyes
Instructions
- Preheat oven and prep baking pan according to brownie mix instructions.
- Prepare brownie batter according to package directions.
- Pour batter into prepared pan, spread evenly, and bake as directed on the box.
- Cool brownies completely in the pan.
- Melt white chocolate chips in a microwave or double boiler.
- Transfer melted white chocolate to a piping bag or zip-top bag with a corner snipped off.
- Drizzle white chocolate over cooled brownies in a zigzag pattern.
- Press candy eyes onto each brownie before the white chocolate sets.
- Let white chocolate set completely before cutting and serving.
Notes
For best results, ensure the brownies are fully cooled before applying the white chocolate to prevent melting. If the melted white chocolate is too thick for drizzling, add a small amount of vegetable shortening to thin it out. Don’t worry about making the bandages perfect – a slightly messy look adds to the mummy effect!
- Prep Time: 15 mins
- Cook Time: 20-25 mins
- Category: Dessert
- Method: Bake
- Cuisine: American
What You’ll Need

Here’s what you’ll need to make these adorable and spooky treats:
- One box of your favorite brownie mix (plus the ingredients called for on the box – usually eggs, oil, and water)
- 1/2 cup white chocolate chips
- Candy eyes
That’s it! Just a few simple ingredients and you’re on your way to creating a delicious and festive Halloween dessert. For extra spooky style points, grab some Halloween themed sprinkles or edible food markers to add more creepy charm!
Step-by-Step Instructions
Step 1: Prep the Brownies
Preheat your oven according to the brownie mix instructions. Grease a baking pan (8×8 or 9×9 inches) and set aside. It’s crucial to prep the pan to ensure smooth removal later. We don’t want your mummies to get stuck in the tomb (pan)! Lining the pan with parchment also helps with removal. Prepare the brownie batter according to the package directions, combining the mix with the required eggs, oil, and water.
Step 2: Bake the Brownies
Pour the brownie batter into the prepared baking pan and spread evenly. Bake for the time recommended on the brownie mix box, or until a toothpick inserted into the center comes out with moist crumbs attached. Overbaking can lead to dry brownies, so keep a close eye on them.
Step 3: Cool Completely
Once baked, remove the brownies from the oven and let them cool completely in the pan. This is a critical step, as warm brownies will melt the white chocolate. Patience is key here!
Step 4: Melt the White Chocolate
While the brownies are cooling, melt the white chocolate chips. You can do this in a microwave-safe bowl in 30-second intervals, stirring until smooth, or in a double boiler. Be careful not to overheat the chocolate, as it can seize up. If the melted chocolate is slightly too thick, add in a touch of vegetable shortening to achieve the perfect piping consistency.
Step 5: Create the Mummy Bandages
Transfer the melted white chocolate to a piping bag or a zip-top bag with a small corner snipped off. Drizzle the white chocolate over the cooled brownies in a zigzag pattern to resemble mummy bandages. Don’t worry about perfection; the messier it looks, the more authentic the mummies become.
Step 6: Add the Candy Eyes
Before the white chocolate sets, gently press two candy eyes onto each brownie to give them their spooky stare. If using candy melts, ensure they are melted to adhere properly.
Step 7: Set and Serve
Let the white chocolate set completely before cutting the brownies into squares. This will prevent smudging and help preserve the mummy design. Once set, cut and serve your spooky treats!
Better-Than-Grandma Tips

Here are a few tips to help you achieve mummy perfection:
- Make sure your brownies are completely cool before drizzling with white chocolate; this will help to prevent any melting or smudging mishaps. To learn more helpful baking advice, check out our Breakfast recipes.
- If you’re using a piping bag, ensure the white chocolate isn’t too hot, as this can cause it to become too thin. Aim for a smooth, yet slightly thick consistency.
- Don’t be afraid to get creative with the “bandages”! Some mummies are more wrapped up than others. Varying thickness and direction create fun looks.
- While the chocolate is still wet, add your candy eyes. Give a gentle press so they stick.
- If you want extra spooky brownies, use dark chocolate brownies for your base and then add the white chocolate for the bandages.
Switch-Ups & Swaps
Here are a few fun ways to change up your Spooky Mummy Brownies:
- Different Chocolate: Try using milk chocolate, dark chocolate, or even butterscotch chips instead of white chocolate for a unique flavor and color scheme. Dark chocolate mummies with a hint of sea salt are to die for.
- Creative Decorations: Use sprinkles, edible markers, or even mini chocolate chips to decorate your mummies. Get creative and use seasonal sprinkles.
- Nutty Mummies: Stir in chopped nuts like pecans or walnuts to the brownie batter before baking. Nuts provide a delicious contrasting texture. Check out our other Dinner options.
- Festive Filling: Add a layer of Halloween-colored frosting between two brownie squares for a spooky surprise inside. Cream cheese frosting with orange food coloring is always a winner.
Can I use different types of chocolate?
You can use milk chocolate, dark chocolate, or even butterscotch chips instead of white chocolate for the mummy wrapping.
Can I make these brownies in advance?
Absolutely! These brownies can be made ahead of time and stored in an airtight container at room temperature for up to 3 days or in the refrigerator for up to a week.
Can I use other decorations besides candy eyes?
While candy eyes are traditional, you can get creative with mini chocolate chips, sprinkles, or even edible markers to decorate your mummies.
What can I use if I don’t have a piping bag?
If you don’t have a piping bag, you can use a zip-top bag with a small corner snipped off. Or, simply drizzle the melted chocolate from the bowl with a spoon or fork
How to Serve

These Spooky Mummy Brownies are perfect for Halloween parties, classroom treats, or a fun family dessert. Serve them on a platter alongside other Halloween goodies, or package them individually in cellophane bags for a cute and spooky treat. For a complete Halloween-themed meal, serve them with some pumpkin soup and our Lunch recipes for spooky sandwiches!
No matter how you present them, these brownies are sure to be a hit! Their ghoulish good looks and fudgy goodness make them the perfect centerpiece for your spooky celebrations.
That’s a Wrap
These Spooky Mummy Brownies are sure to be a hit at your next Halloween gathering. They’re easy to make, fun to decorate, and absolutely delicious. The combination of fudgy brownies and sweet white chocolate is simply irresistible. Plus, who can resist those adorable candy eyes peeking out from beneath the “bandages”? So gather your ingredients, preheat your oven, and get ready to create these delightful treats! For more Halloween inspiration, check out our Desserts category. Share the spooky fun with your friends on Facebook, Pinterest, and Instagram.


