Halloween is just around the corner, and what better way to celebrate than by crafting these adorable edible Witch Brooms? These treats are not only spooky-cute but surprisingly simple to create, making them a perfect project for a fun family activity. The kids will shriek with delight as they help assemble these charming edible crafts.
These whimsical witch brooms aren’t just for kids. They make adorable additions to your Halloween party spread, adding a touch of playful magic to the celebration. You can customize them with different colored candies, sprinkles, and even edible glitter for extra sparkle. It’s a guaranteed way to add some enchantment to your Halloween festivities!
Why You’ll Love It
These playful Witch Brooms are more than just a treat; they are an experience! Here’s why this recipe will cast a spell on you:
- Simple & Fun: Easy enough for even the littlest goblins to help, these Witch Brooms are a great way to bond in the kitchen while creating something magical together.
- Versatile Treats: They’re perfect as party favors, spooky snacks, or even decorations for your Halloween buffet. The possibilities are as vast as a witch’s cauldron!
- Creative Canvas: Let your imagination run wild with different colored candy coatings, sprinkles, and edible decorations. Every broom can be unique, just like your little witches and wizards!
- Deliciously Spooky: The combination of crunchy pretzel sticks, creamy chocolate, and candy corn makes for a satisfyingly sweet and spooky treat.
Witch Brooms
- Total Time: 25 mins
- Yield: 20 brooms
Description
Conjure up some Halloween magic with these adorable and easy Witch Brooms! Made with pretzel sticks, peanut butter cups, and candy corn, these treats are a fun activity for the whole family. Customize them with different candies and sprinkles for a unique, spooky snack.
Ingredients
- Pretzel Sticks
- Miniature Peanut Butter Cups
- Candy Melts (orange or brown)
- Candy Corn
- Sprinkles (optional)
Instructions
- Melt the candy melts in a microwave-safe bowl in 30-second intervals, stirring until smooth.
- Dip the bottom of each peanut butter cup into the melted candy and press it onto a pretzel stick.
- Attach a candy corn to the bottom edge of the peanut butter cup. Add sprinkles (optional).
- Place the Witch Brooms on a parchment-lined baking sheet to set for 15-20 minutes, or 5-10 minutes in the fridge.
Notes
For a vegan option, use vegan candy melts and substitute the peanut butter cups with a vegan alternative like sunflower seed butter cups. Use a piping bag or a ziplock bag with a small corner snipped off for more controlled drizzling of melted chocolate when creating spiderweb designs or other decorations. Prepare the candy melts and set up your workspace before involving children in the assembly process to make the activity smoother and more enjoyable.
- Prep Time: 10 mins
- Cook Time: 5 mins
- Category: Desserts
- Method: No-Bake
- Cuisine: American
Ingredient Overview
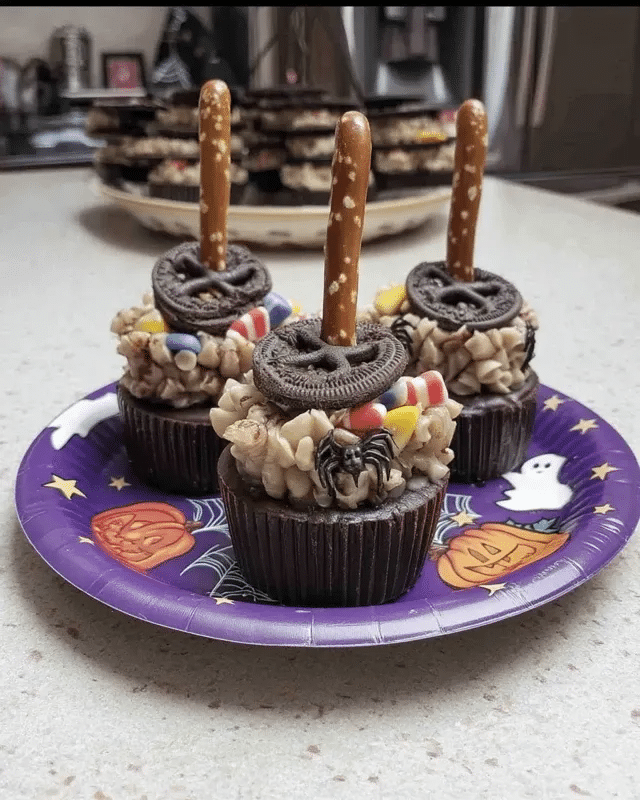
Here’s what you’ll gather to conjure up these edible Witch Brooms:
- Pretzel Sticks: The sturdy handles for our miniature broomsticks.
- Miniature Peanut Butter Cups: The perfect size for the broom’s bristles.
- Candy Melts (orange or brown): The “glue” to hold it all together, plus it adds another layer of flavor. You can find these at most craft stores or baking supply aisles.
- Candy Corn: The classic Halloween treat, these become the decorative tips of our brooms.
- Sprinkles (optional): For extra sparkle and magic! Choose Halloween-themed sprinkles for a festive touch.
Step-by-Step Instructions
Step 1: Melt the Magic
Place your candy melts in a microwave-safe bowl. Microwave in 30-second intervals, stirring after each, until completely melted and smooth. Be careful not to overheat, as the chocolate can seize up.
Step 2: Assemble the Bristles
Dip the flat bottom of each peanut butter cup into the melted candy coating. Gently press it onto the end of a pretzel stick. Repeat for all your pretzel sticks.
Step 3: Add a Touch of Sweetness
While the chocolate is still wet, attach a candy corn to the bottom edge of the peanut butter cup to form the broom’s tip. If using, sprinkle immediately with your chosen decorations.
Step 4: The Drying Spell
Place your finished Witch Brooms on a parchment-lined baking sheet to set. Allow the chocolate to harden completely, which takes about 15-20 minutes at room temperature. If you’re in a hurry, you can pop them in the fridge for about 5-10 minutes.
Pro Tips
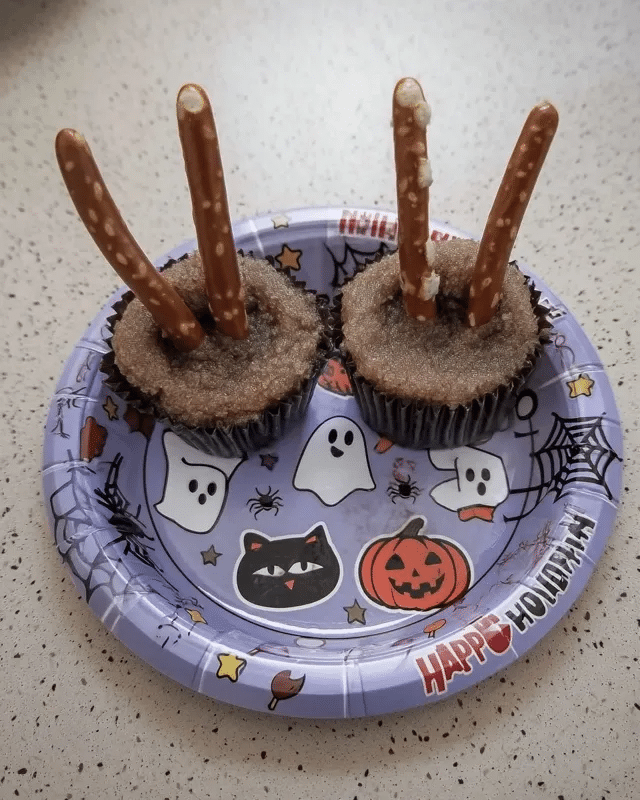
Here are a few tricks to make your Witch Brooms extra special:
- For a more rustic look, use pretzel rods instead of sticks. It gives a different, longer broomstick feel! Looking for other creative Halloween projects? Try these Ghostly Matcha Truffles.
- If your candy melts are too thick, add a teaspoon of vegetable shortening to thin them out. This will help the chocolate flow more smoothly.
- For a cleaner finish, use a dipping tool or a fork to help coat the peanut butter cups evenly in the melted chocolate.
Recipe Variations
- Nut-Free Magic: Substitute sunflower seed butter cups for peanut butter cups for guests with allergies. It’s a simple swap that doesn’t sacrifice the charm.
- White Chocolate Witchery: Use white candy melts and add some orange food coloring for a different twist. Pair it with Halloween-colored M&Ms for a pop of color.
- Spooky Spiderwebs: Drizzle melted white chocolate over the hardened orange chocolate coating in a spiderweb design for a touch of extra Halloween flair! Be sure to check out our Dinner recipes for more ideas.
- Caramel Apple Brooms: Dip the pretzel sticks in caramel and then roll them in crushed graham crackers. Attach a caramel-filled apple slice to the end instead of a peanut butter cup and candy corn for a delicious twist.
How far in advance can I make these Witch Brooms?
You can make these Witch Brooms up to a week in advance. Store them in an airtight container at room temperature to maintain their crispness.
Can I use other types of candy for the broom tips?
Absolutely! Get creative! Try using small pieces of caramel, gummy worms, or even mini marshmallows. The Halloween candy aisle is your oyster!
My candy melts are too thick. How can I thin them out?
Add a teaspoon of vegetable shortening or coconut oil to your melted candy and stir until smooth. This will help the chocolate flow more easily.
Can I use different types of pretzels?
Certainly! Pretzel rods, twists, or even mini pretzels can all be used to create variations on the witch broom theme. Just adjust the size of the peanut butter cup or other ‘bristles’ accordingly.
Serving Suggestions
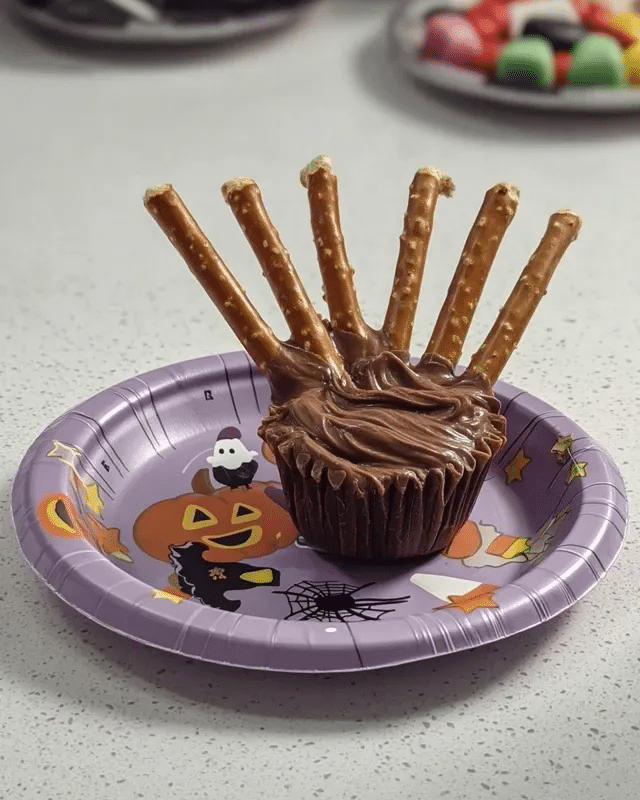
These Witch Brooms are perfect for a Halloween party, a spooky movie night, or even as a fun after-school snack. Arrange them on a platter with other Halloween treats, or stick them in a Halloween-themed mug filled with candy corn for a festive presentation. Serve with a glass of cold milk, warm apple cider, or even our spooky Halloween Punch for a complete Halloween experience.
Final Thoughts
These adorable Witch Brooms are a fantastic way to celebrate the spooky season. They’re easy, fun, and perfect for sharing with friends and family. Let me know if you give them a try! Share your photos with me on Facebook or Instagram, I’d love to see your creations! For another fun dessert recipe, check out these Pumpkin Pie Bars.

